Verify on Etherscan

One thing that comes up every now and then is
- how to verify smart contracts on block explorers
- why verify them in the first place
- how to directly interact with smart contracts using the Etherscan interface.
Why Verify Smart Contracts
First and foremost, in an open society that fosters transparency, it is considered good practice to open source the source code. Your bytecode is there anyways. But having the source code there is an additional step towards transparency.
In a world where smart contracts can handle multiple millions of dollars, its hard to justify for the wider public to interact with smart contracts if they can't be verified.
Verifying smart contracts also lets other easier interact with them, as you'll see in a second.
But how to go about that?
How to Verify A Smart Contract manually on Etherscan
Let's run with a sample smart contract
//SPDX-License-Identifier: MIT
pragma solidity 0.8.16;
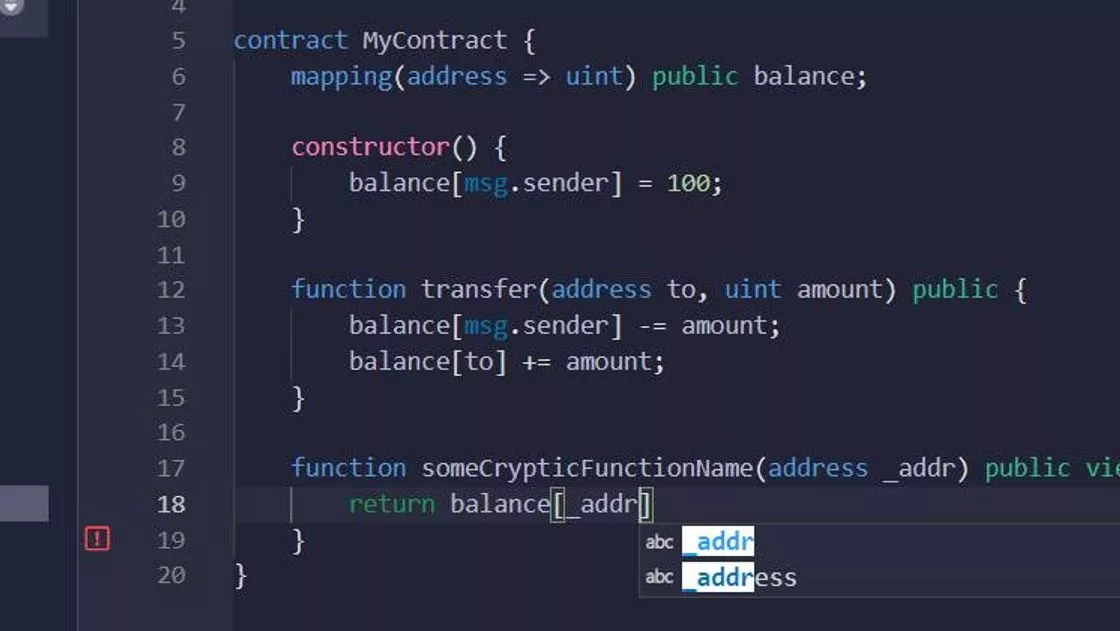
contract MyContract {
mapping(address => uint) public balance;
constructor() {
balance[msg.sender] = 100;
}
function transfer(address to, uint amount) public {
balance[msg.sender] -= amount;
balance[to] += amount;
}
function someCrypticFunctionName(address _addr) public view returns(uint) {
return balance[_addr];
}
}
Step by step:
- Sign in to Etherscan

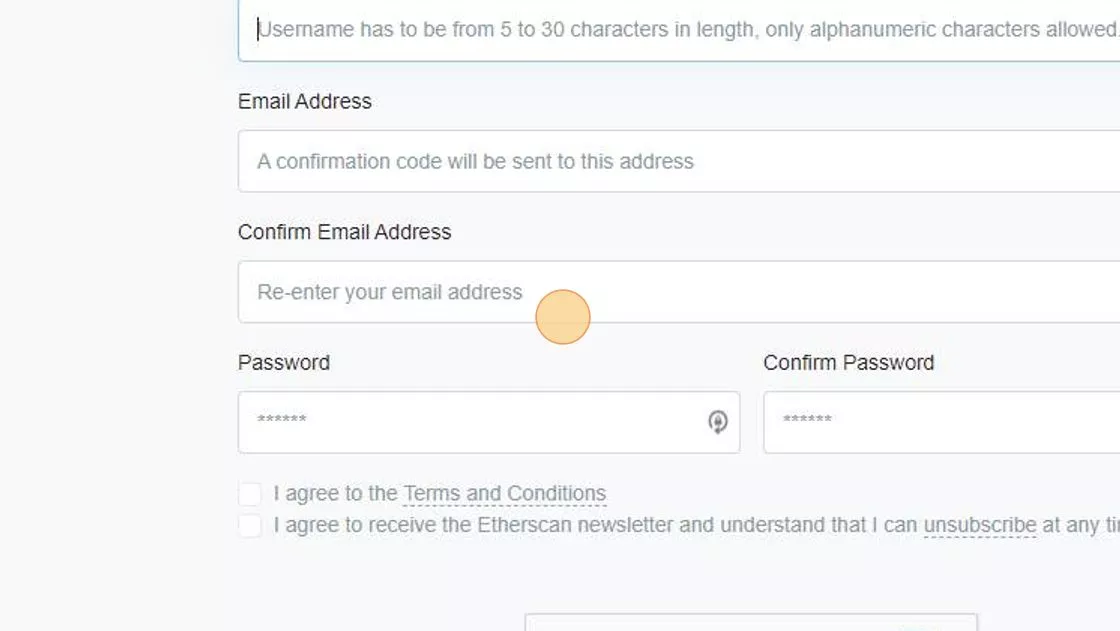
- If you don't have an account, you need to signup first
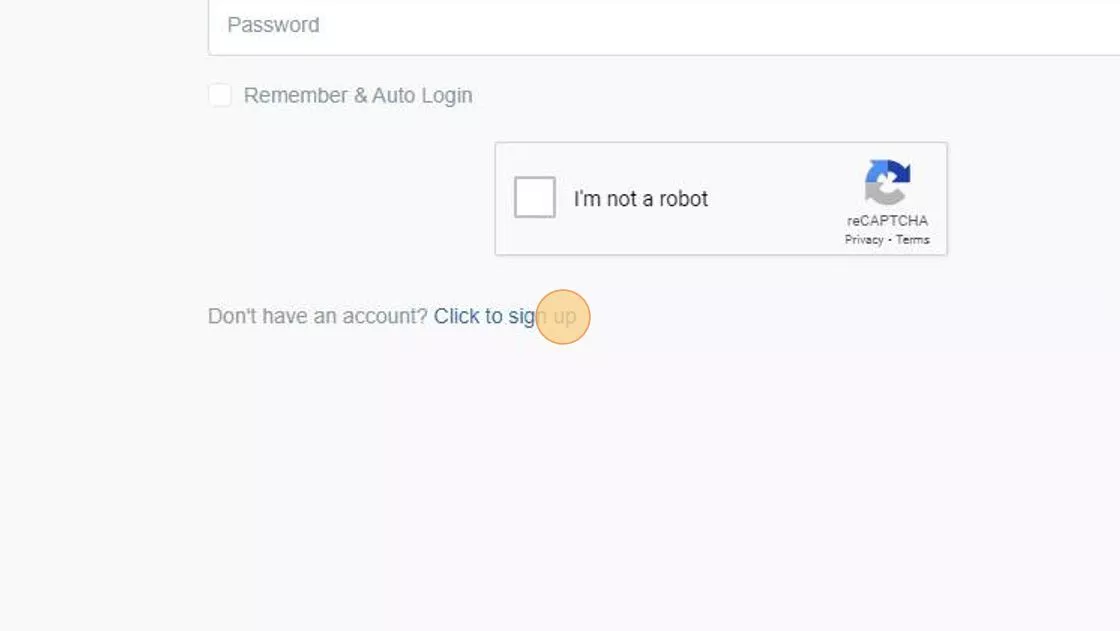
- It requires an email address
- Checks for the robot...
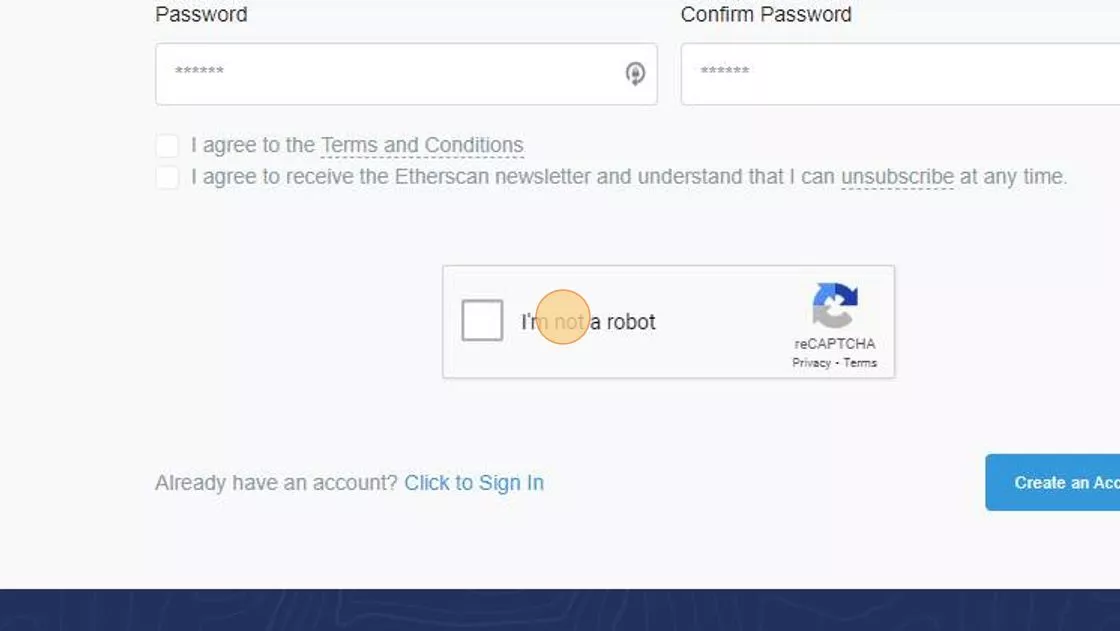
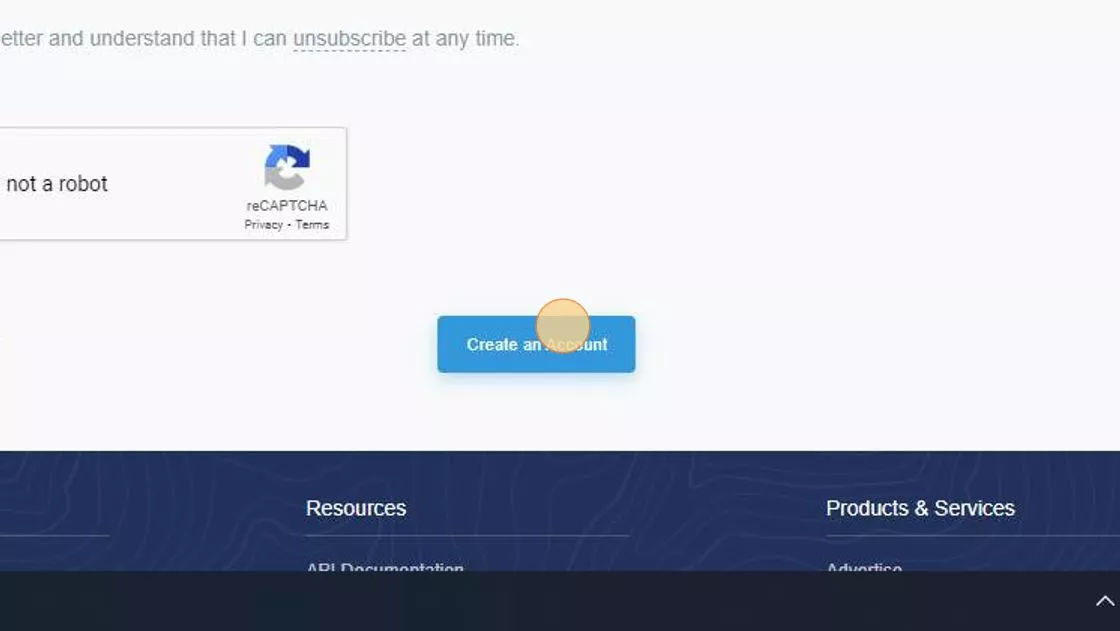
- ... and create an account
- Then sign in, same here, robot check
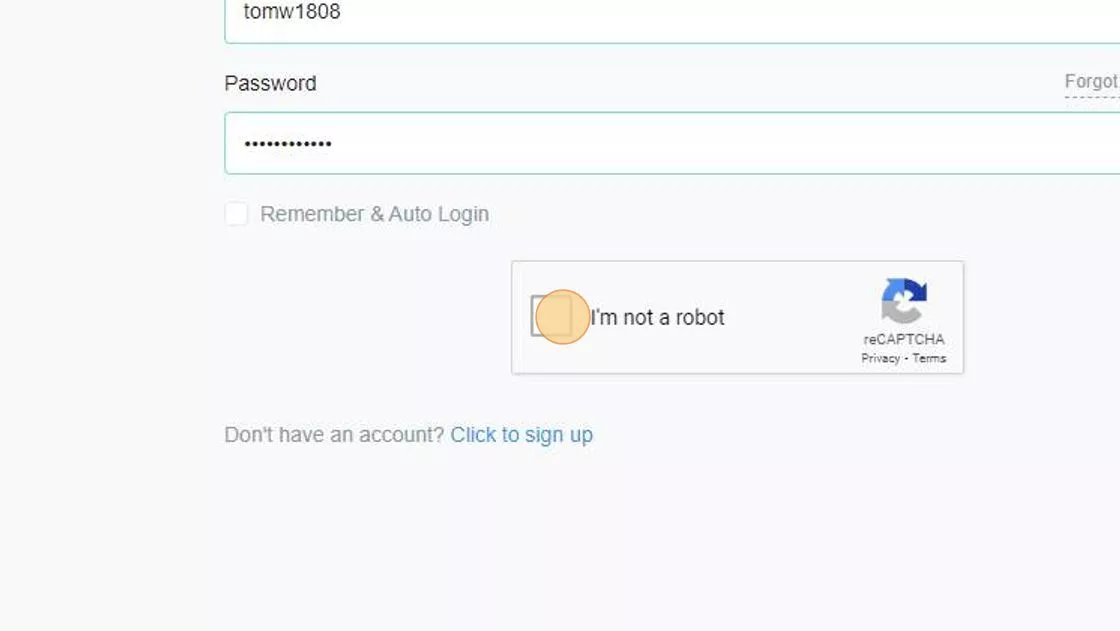
- And Login

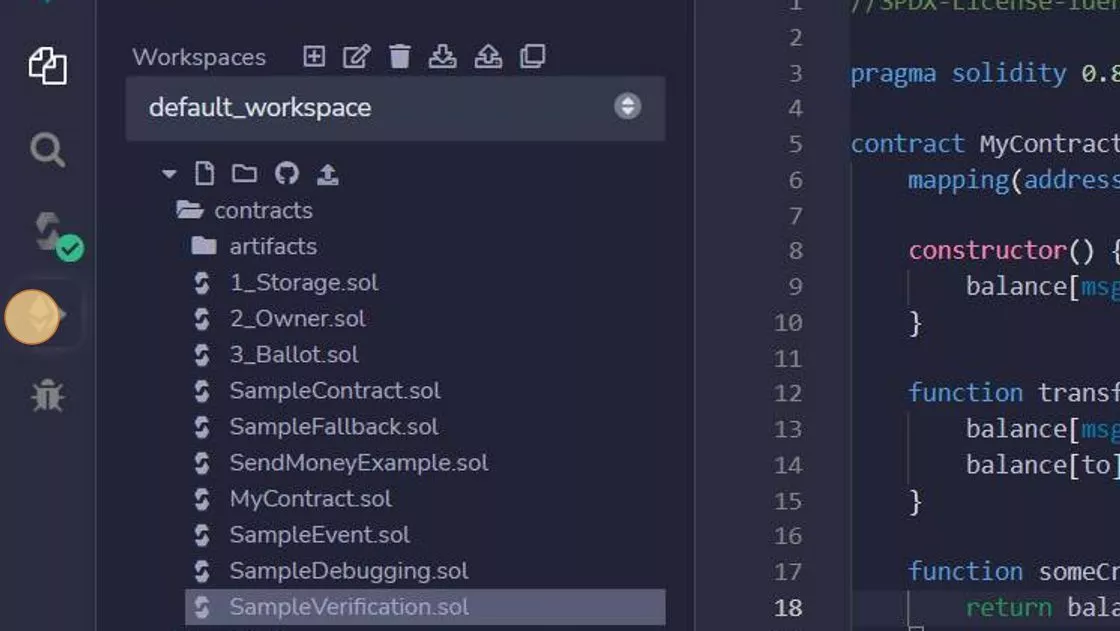
- Let's head over to Remix, open a new Tab

- Create a new file
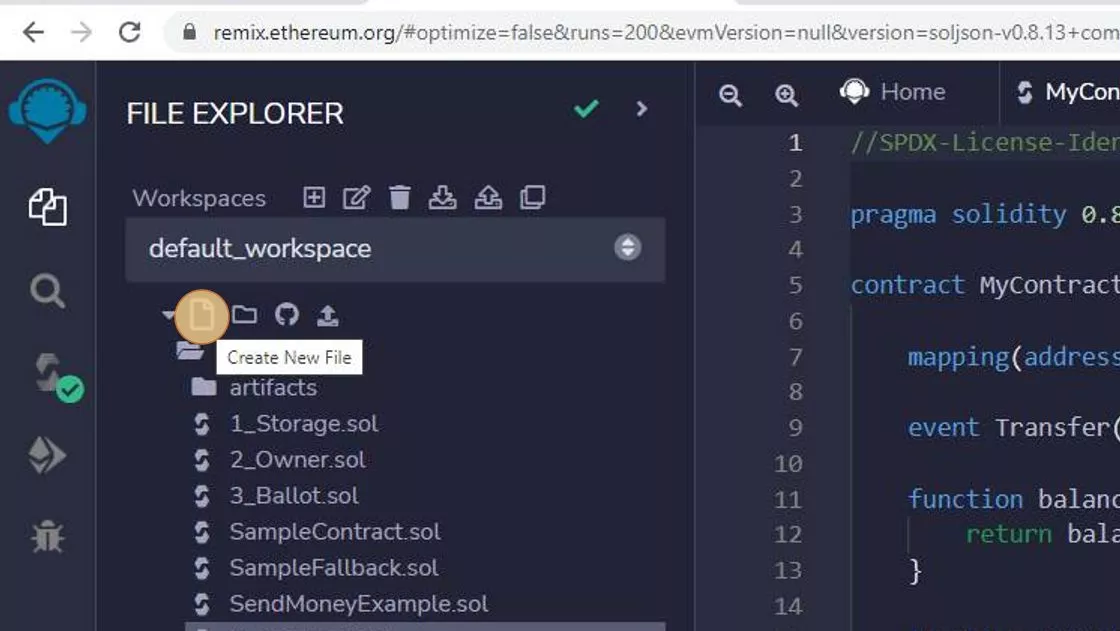
- Add the contract from above
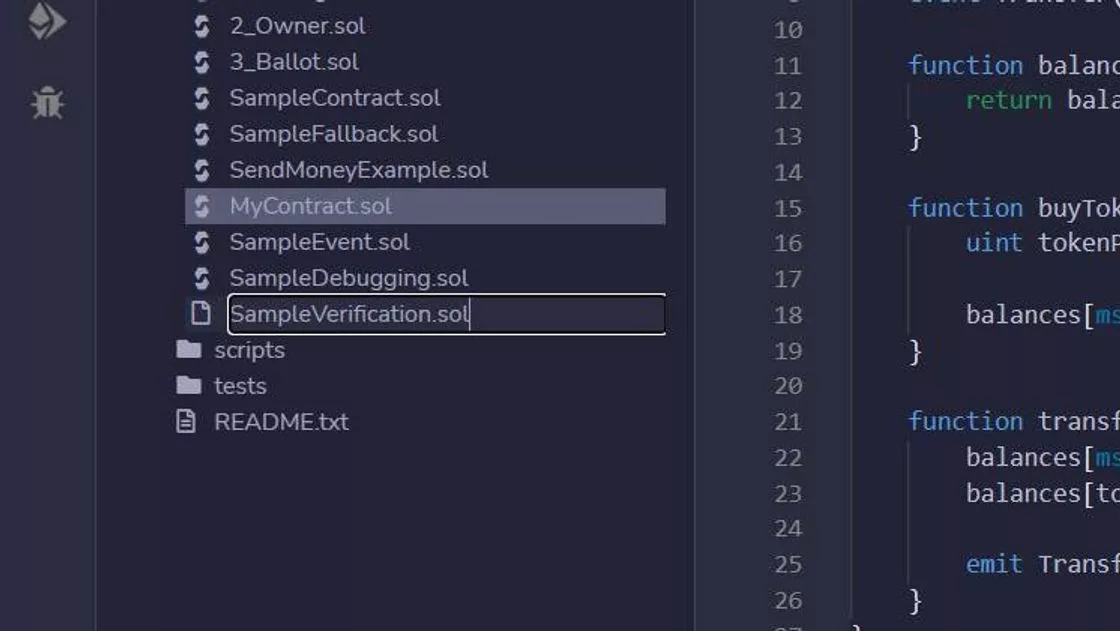
- make sure its the contract
- Head over to the Deploy & Run Transaction Tab
- Select the MetaMask injected web3 provider
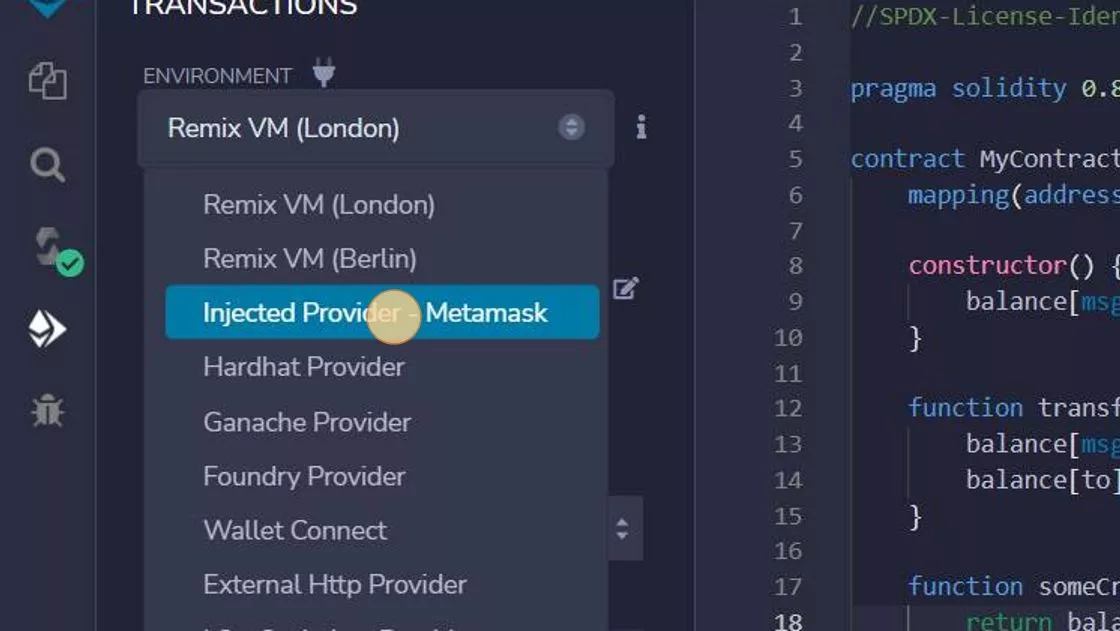
- If your MetaMask is locked, then unlock it first

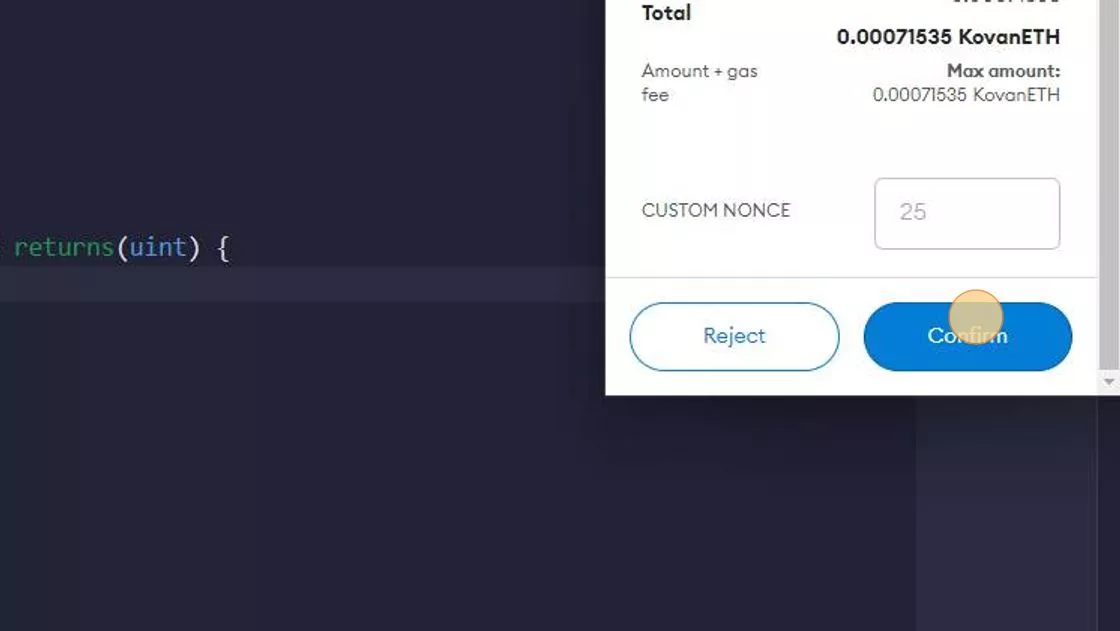
- Click "DEPLOY"

- Click "Confirm"
- Click "View on Etherscan" to open the transaction on Etherscan

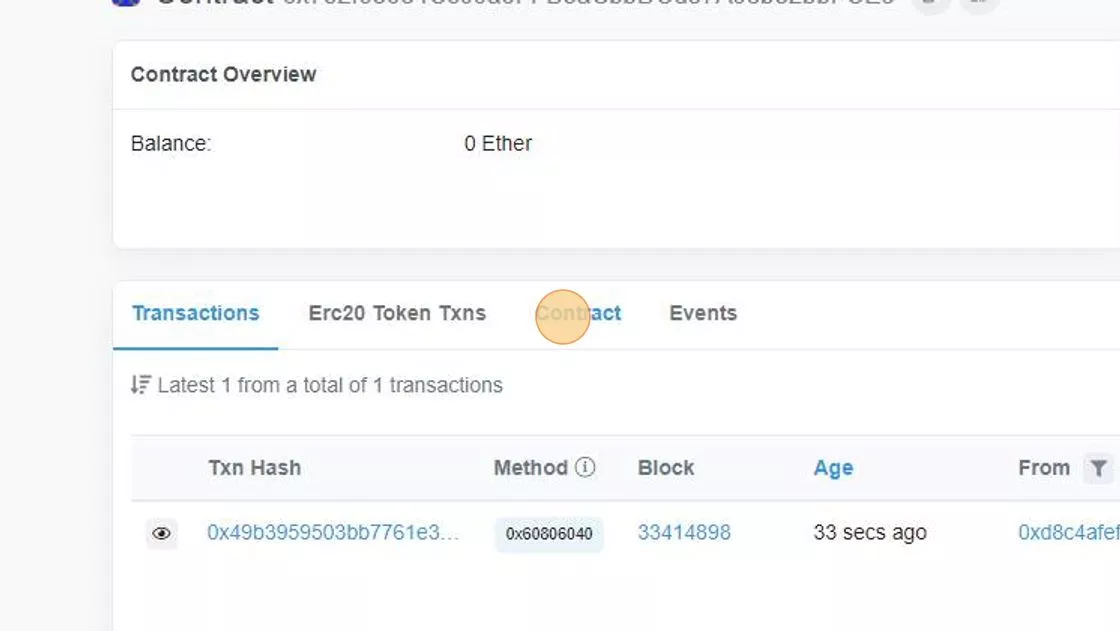
- Click on the new Contract (the address) to open the contract
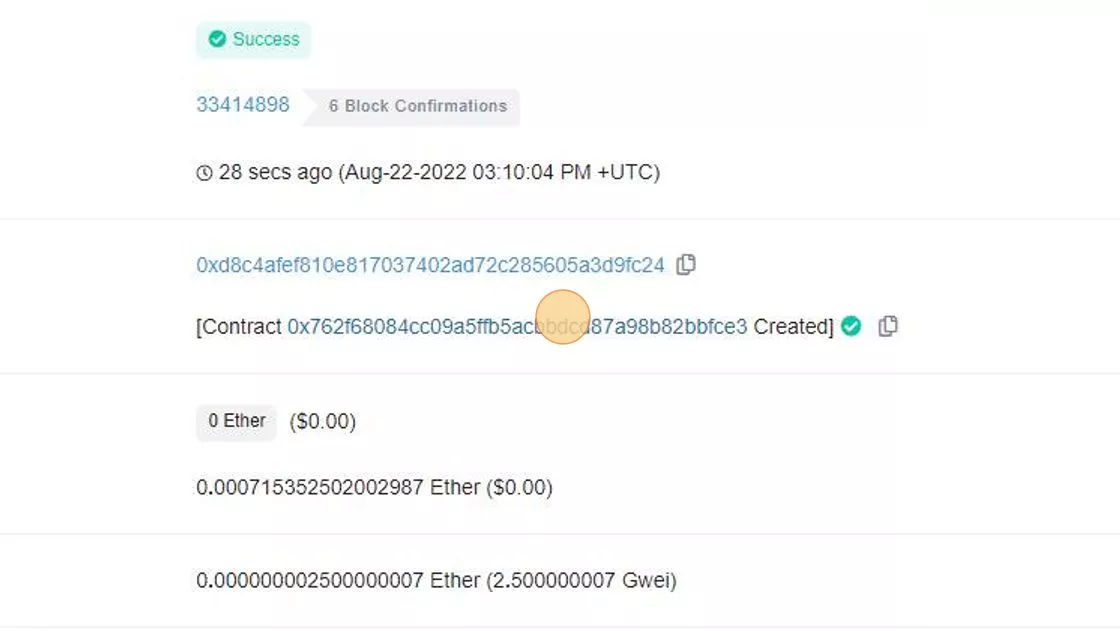
- Then click on the Contract - you see its just bytecode there. Etherscan can't guess your interface, your function names, nothing.
Function names
Sometimes Etherscan infers a function name. That is, for interfaces from known contracts, like the ERC20 contract. If you interact with this smart contract and use the transfer function, Etherscan would probably show you correctly that the function "transfer" was used. But if you use the function someCrypticFunctionName it would just show you the 4 byte hashed function signature.
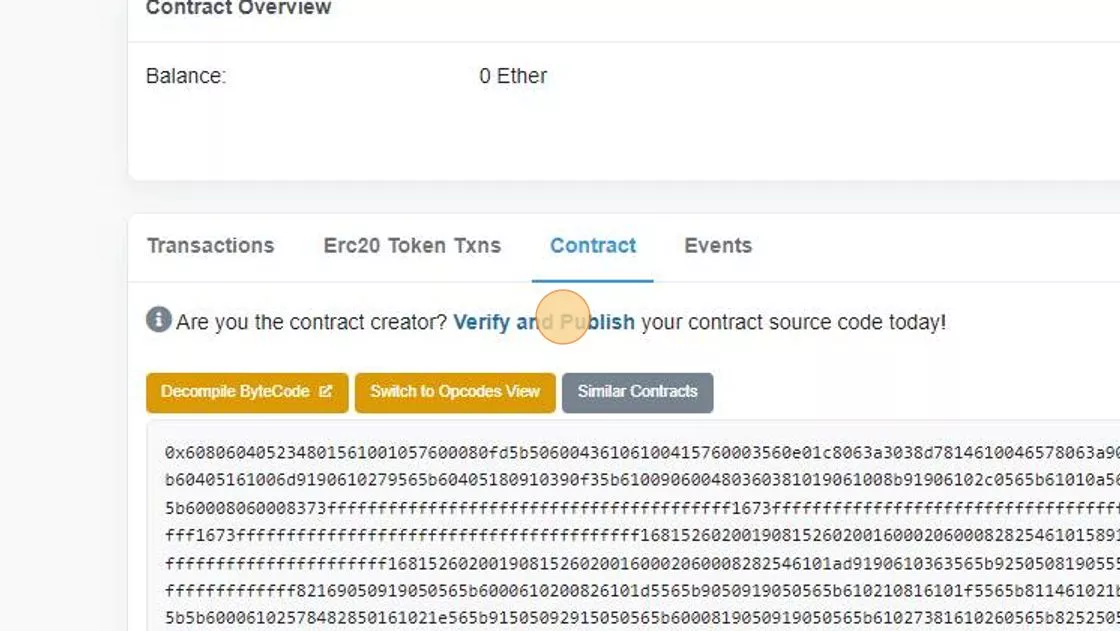
- That's the unverified bytecode
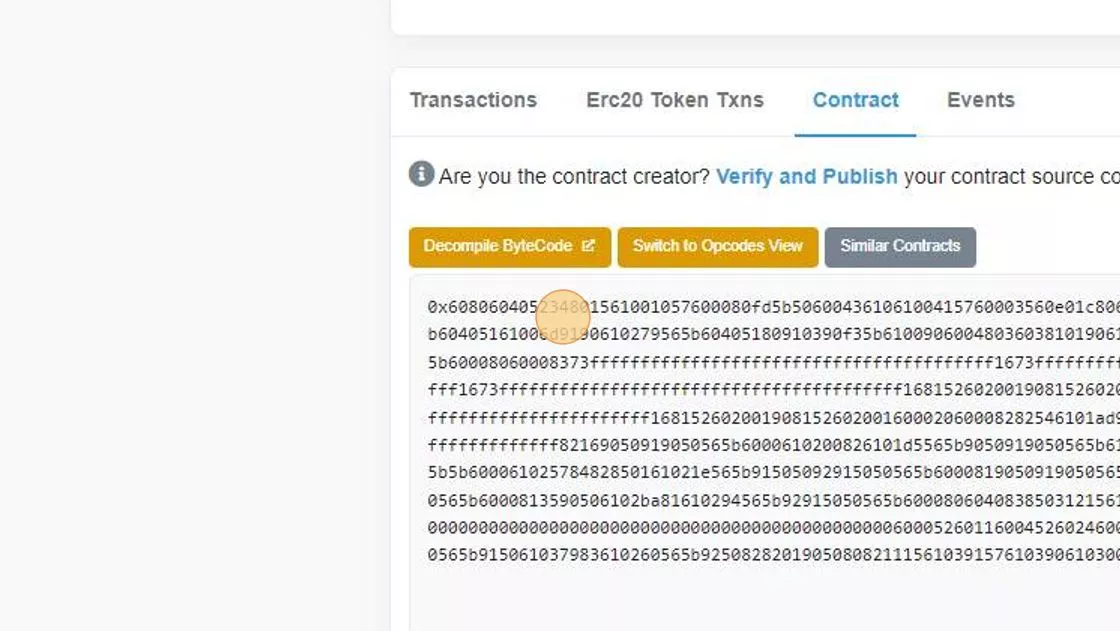
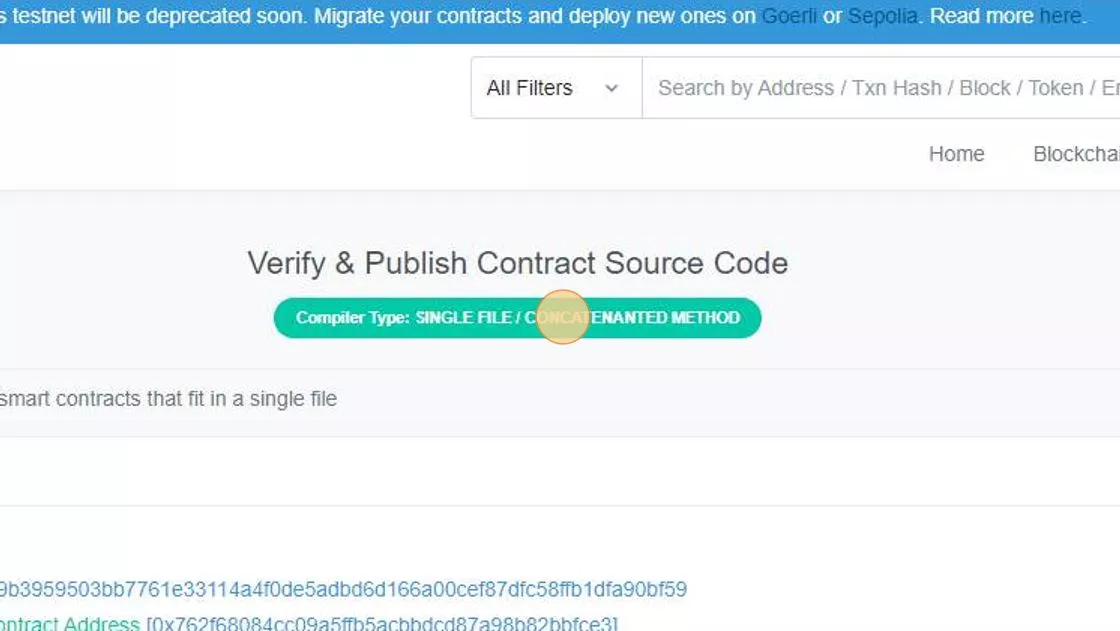
- Let's verify that Smart Contract now! Click "Verify and Publish"
- There are two things to select: The compiler and the license
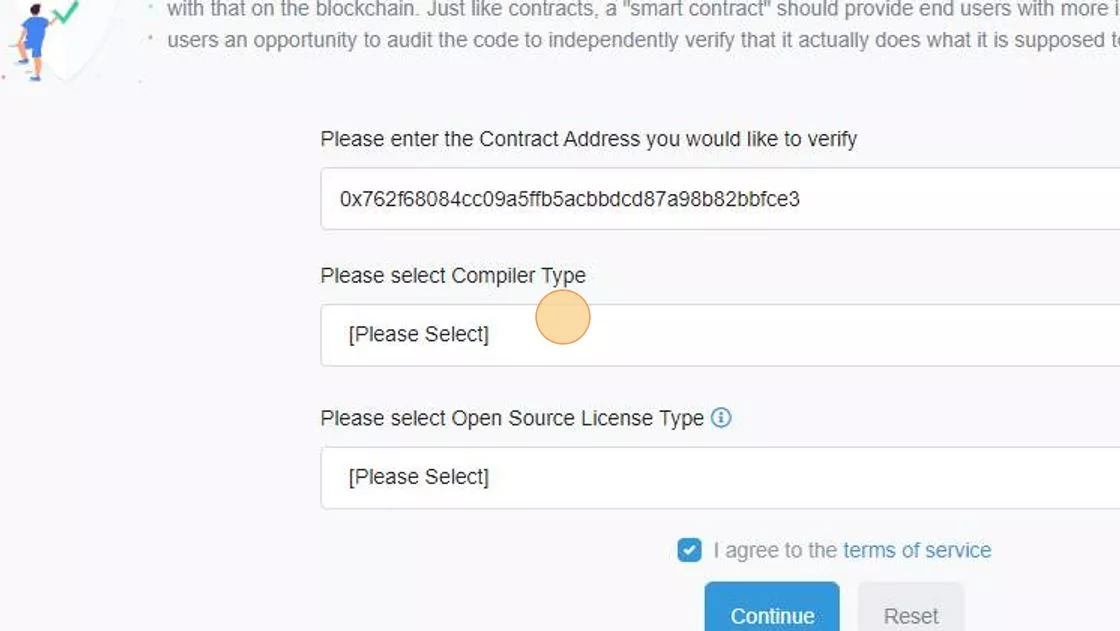
- Select Solidity single-file from the compiler
You will later see that we can automate the source code verification with scripts from Truffle, Hardhat and Foundry. But, as you're an Ethereum developer, its good practice to have that done at least once manually...

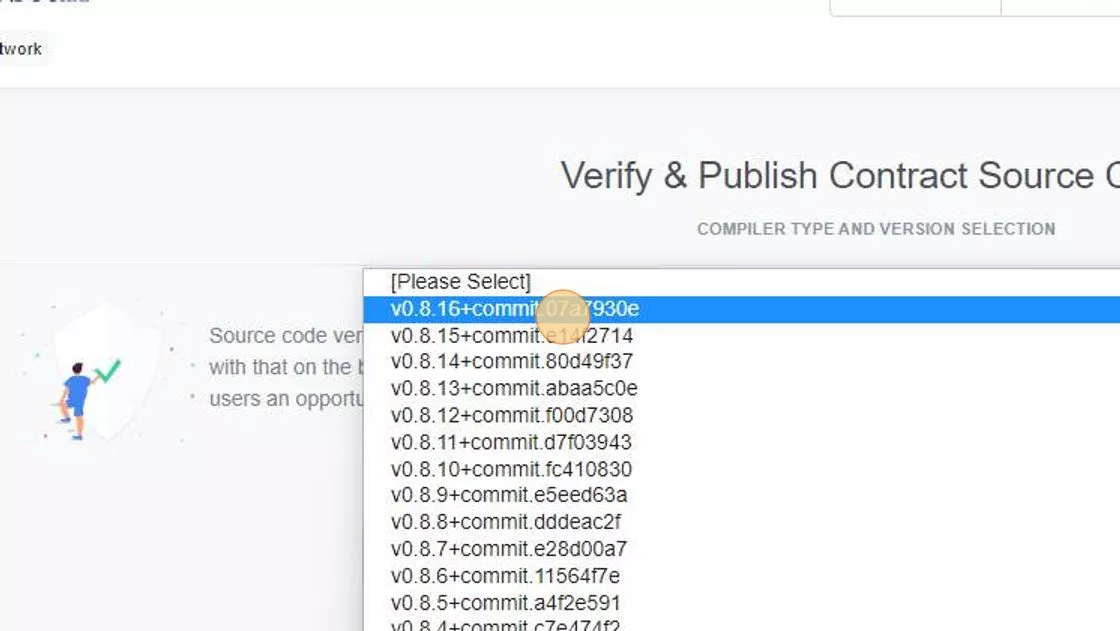
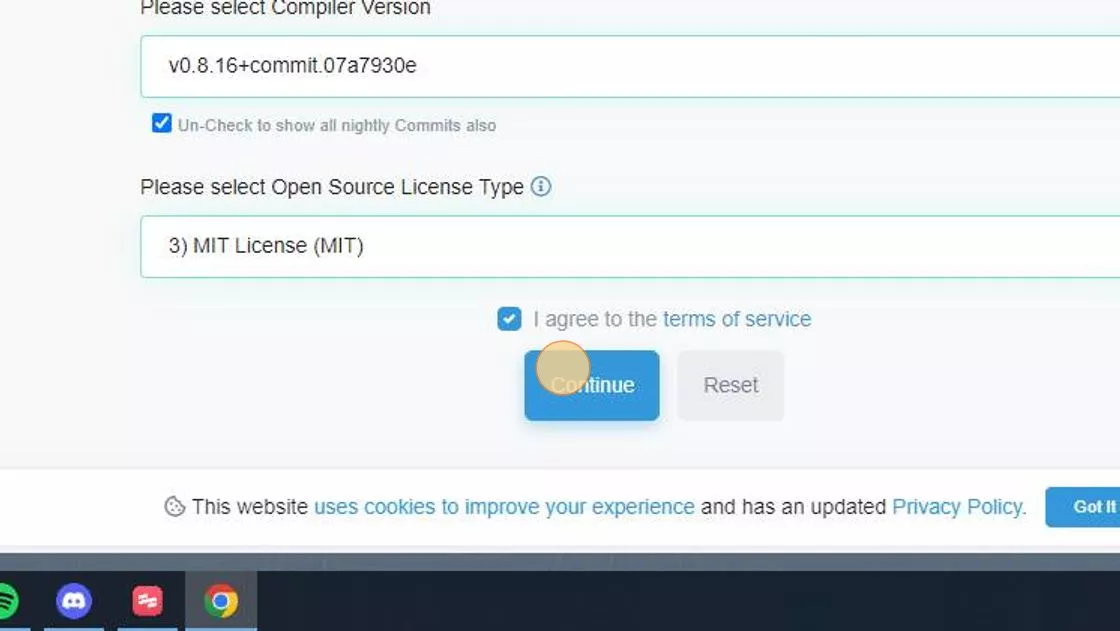
- Once you select Solidity, another dropdown will appear for the compiler version
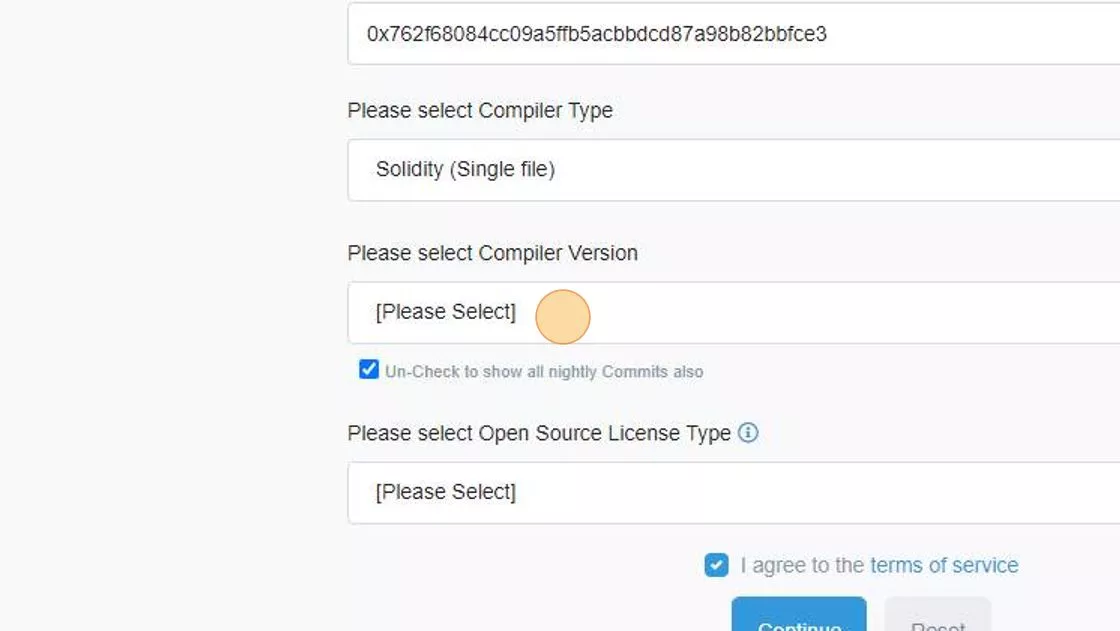
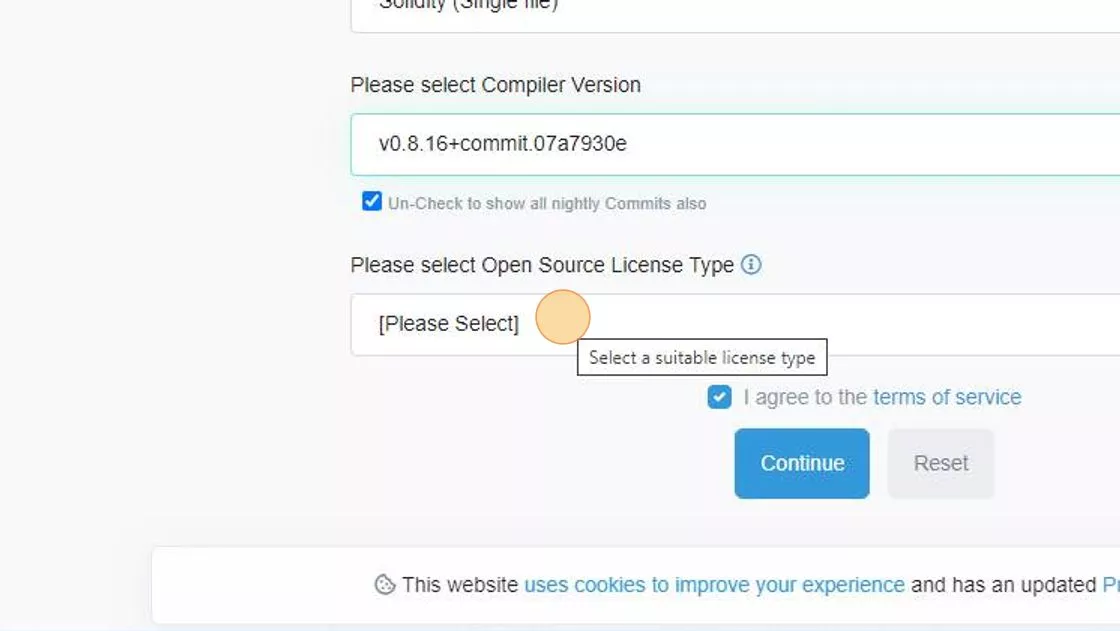
- Select 0.8.16, or whatever compiler you used for your contract...
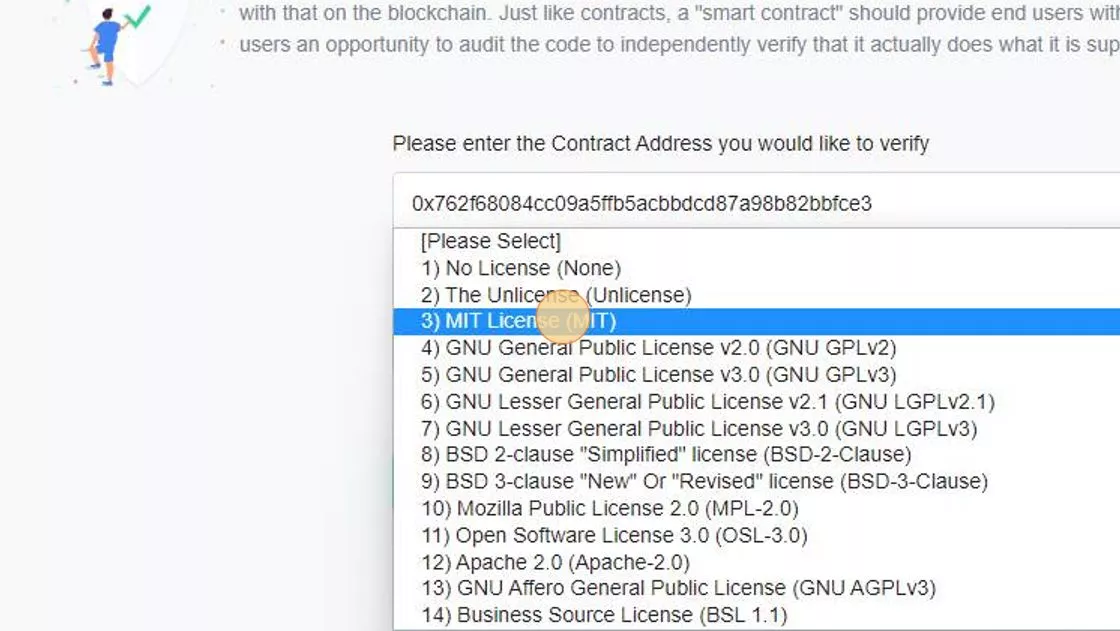
- I'm licensing this contract as MIT - select the correct license here.
- You see there are a ton of licenses. That might be parsed in later versions directly from the source code file.
SPDX License Identifier
That identifier wasn't always in there. So, naturally, not all tools are using this identifier to determine the license.
- Let's continue now and see what happens!
- We need to copy the source code from Remix into the source code field

- Head back to Remix, copy the Source code
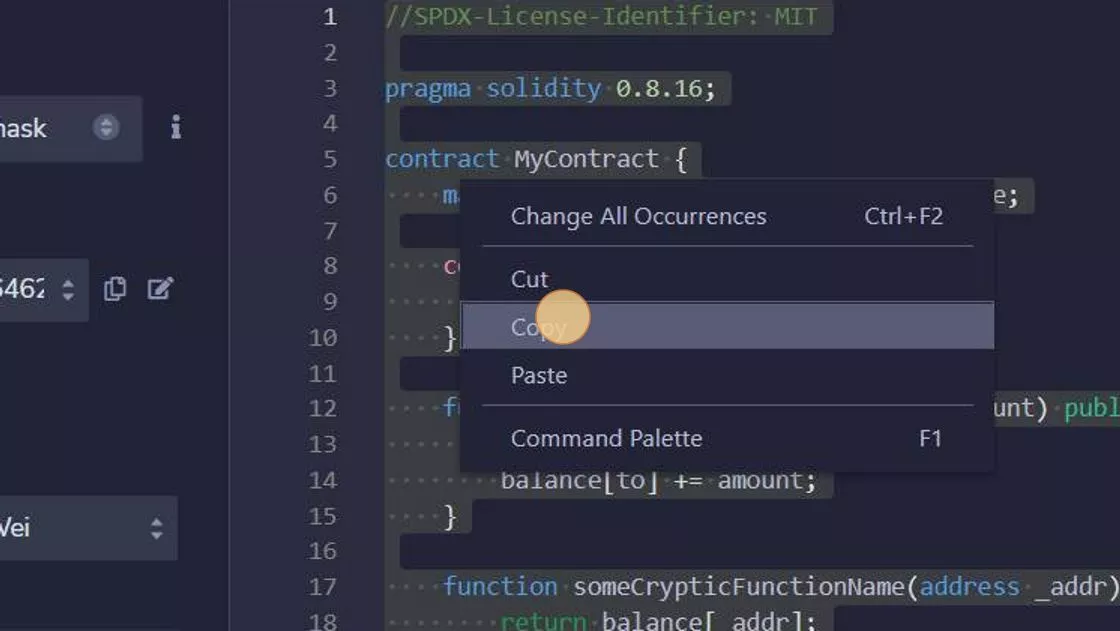
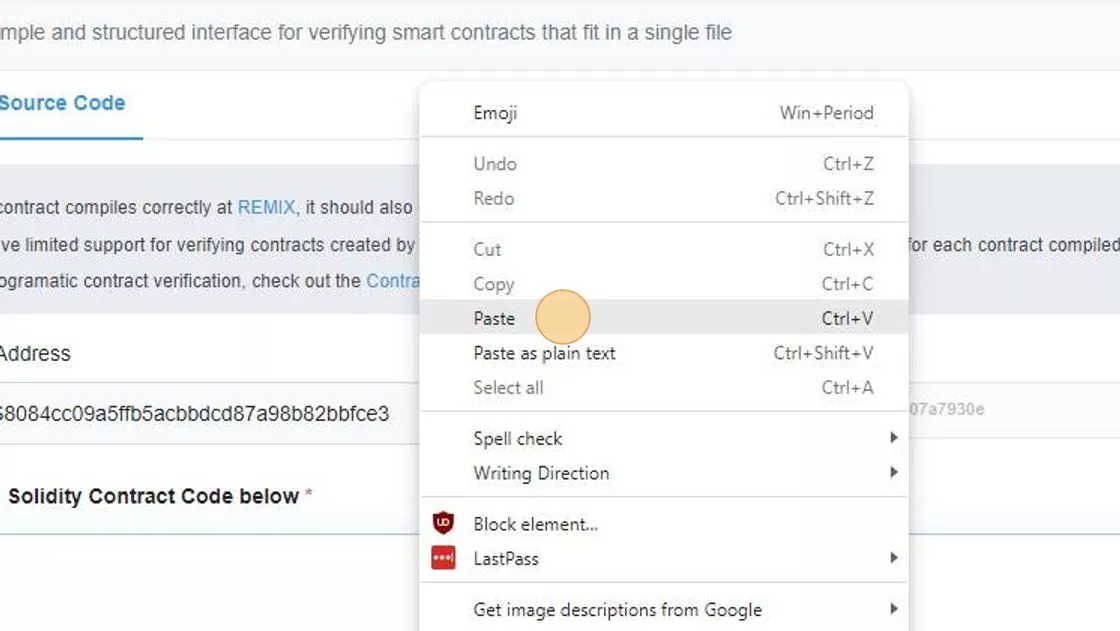
- And paste the source code
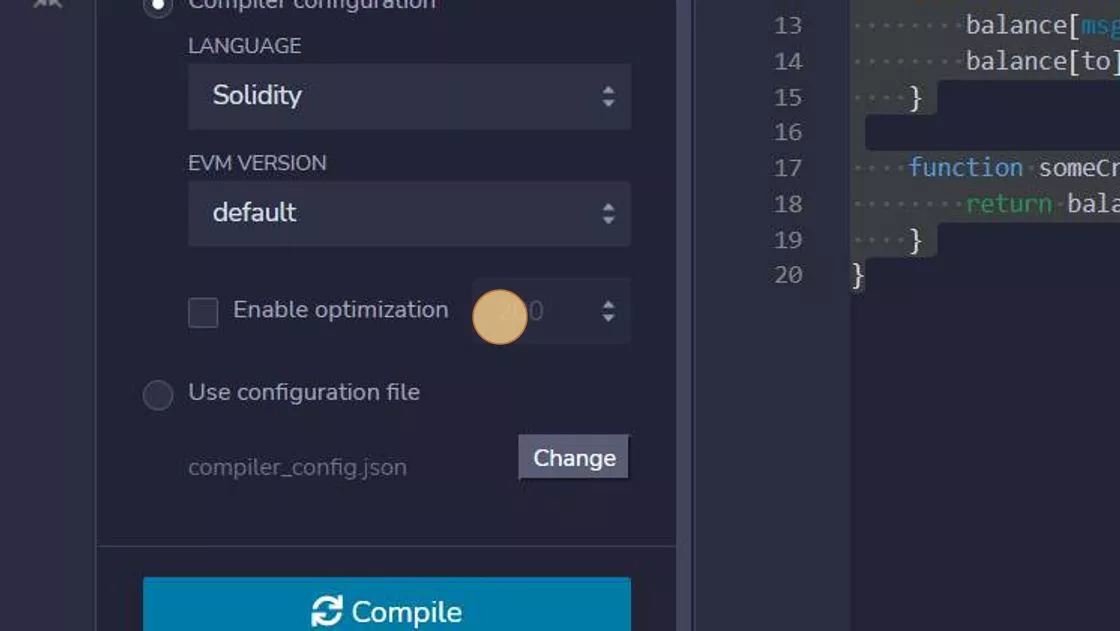
- Sometimes you need to specify the compiler optimizations. To check if you had any, head back to Remix, and click "Advanced Configurations" in the compiler plugin

- If this checkbox is checked, then set the appropriate optimizations in Etherscan as well
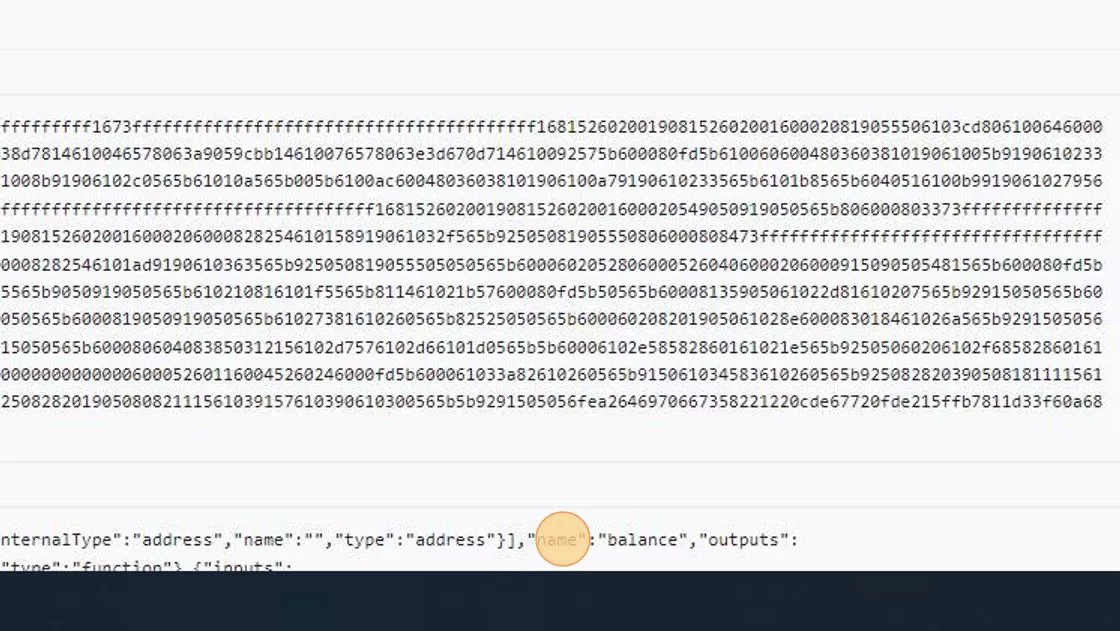
- Finally, our Bytecode

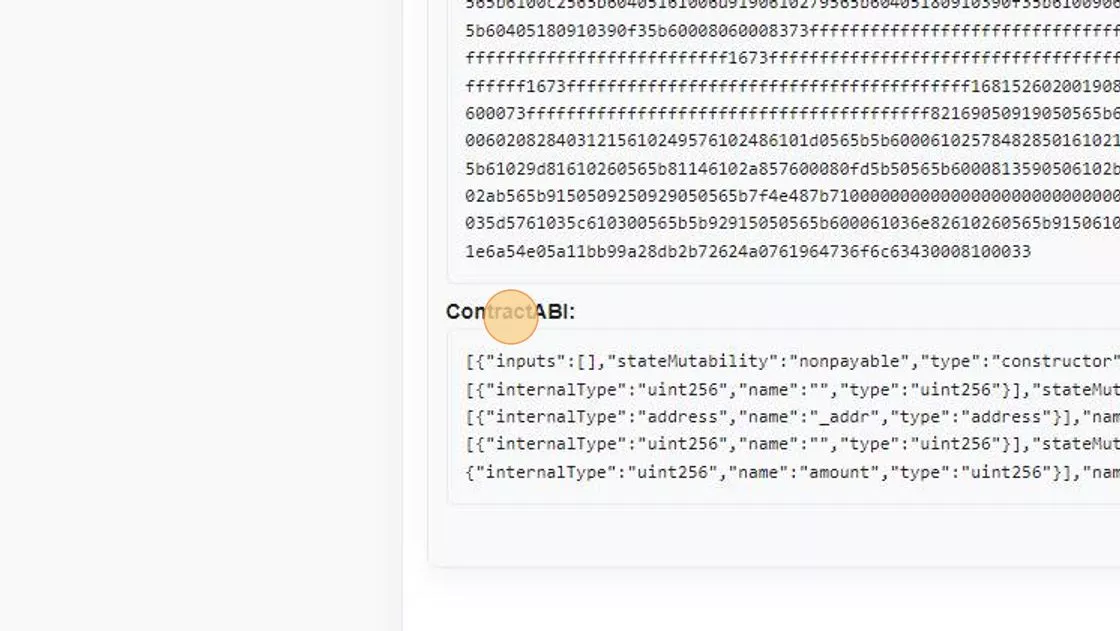
- And the ABI Array
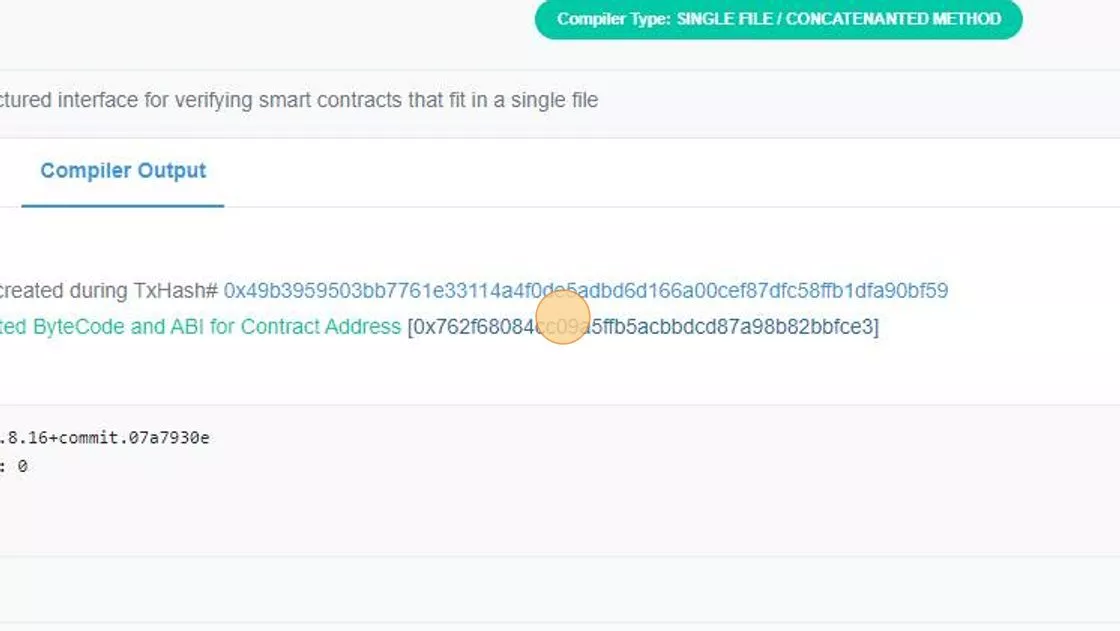
- All green!
- It should say something like "Successfully generated ByteCode and ABI for Contract Address "
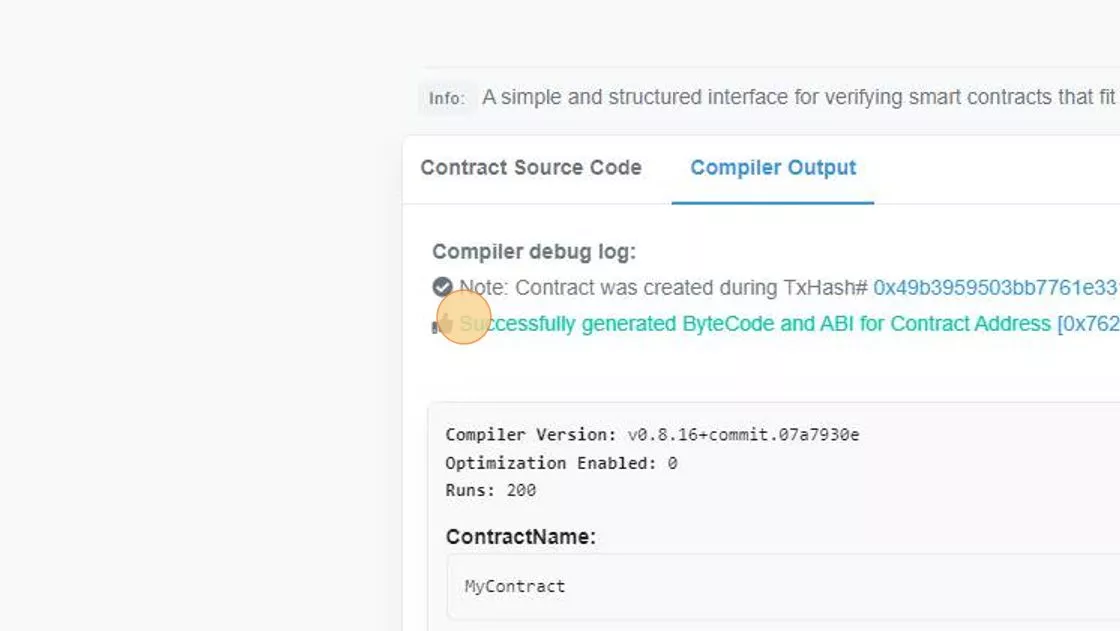
- "ContractABI:"
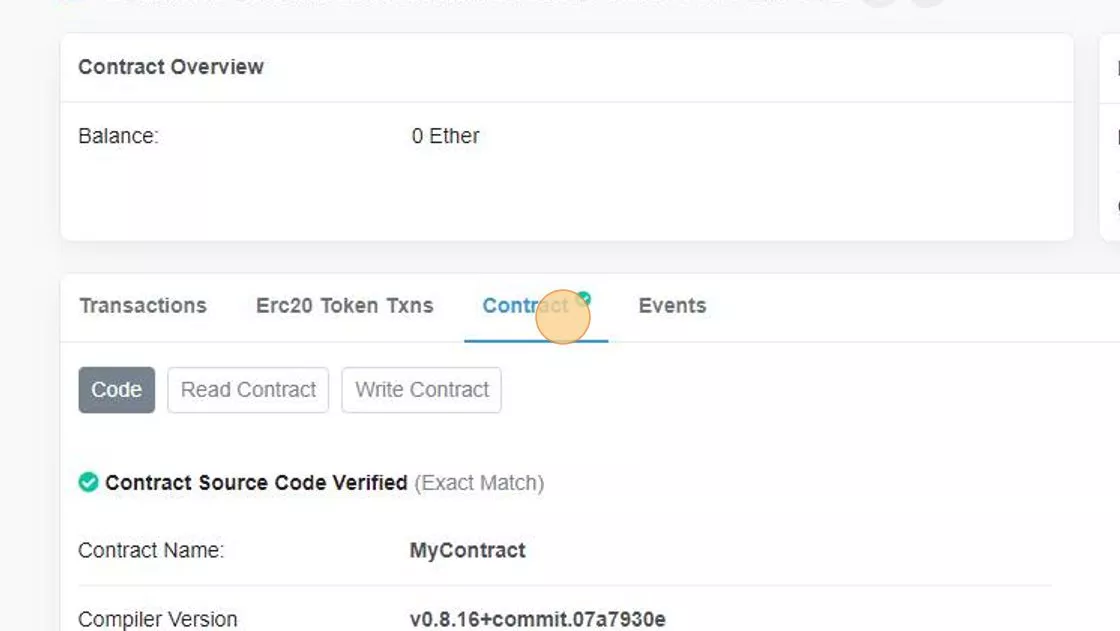
- Click on your contract address to get back
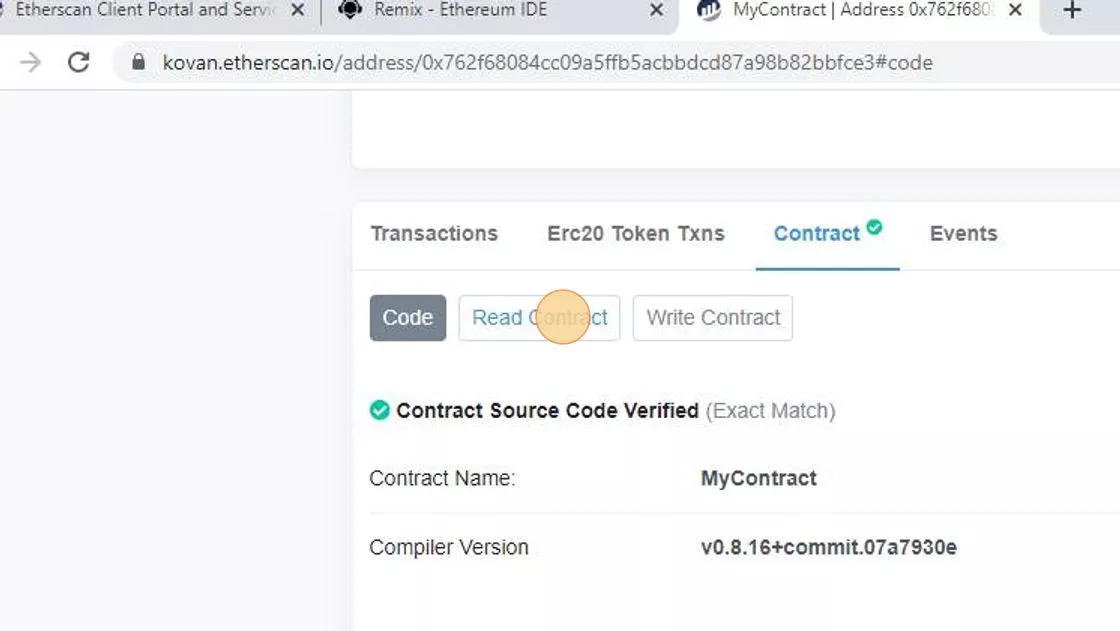
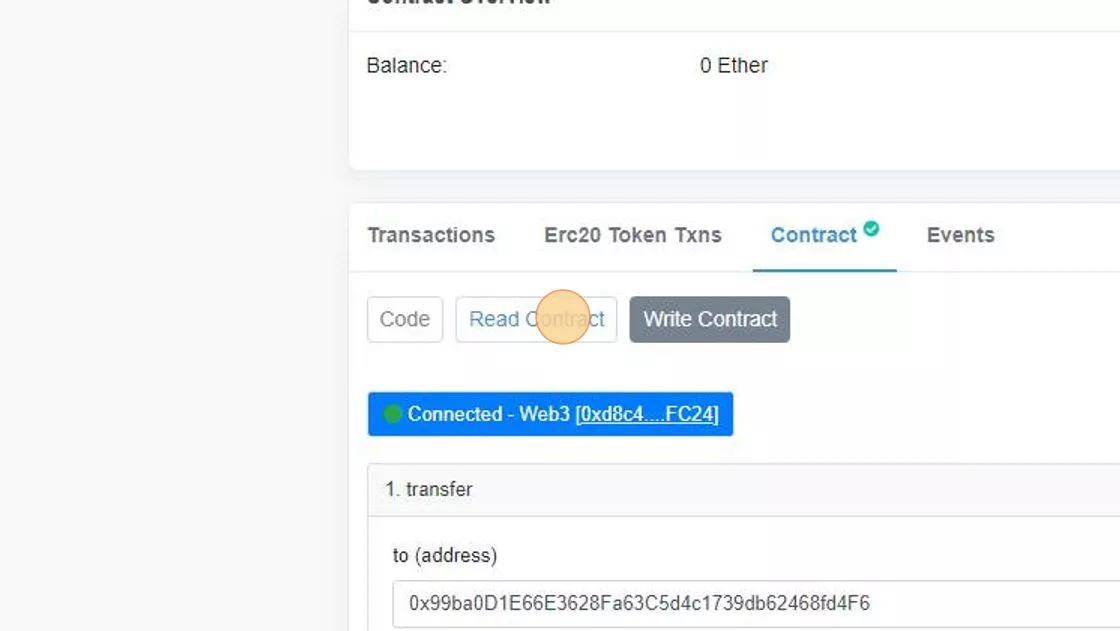
- Click "Contract" - which now has a little check next to it
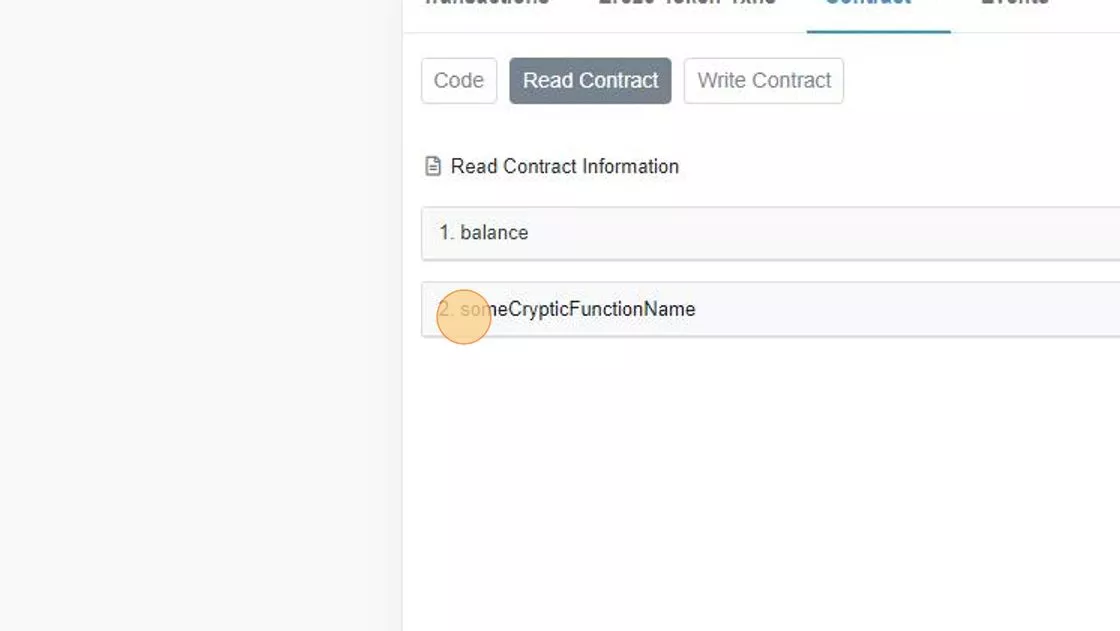
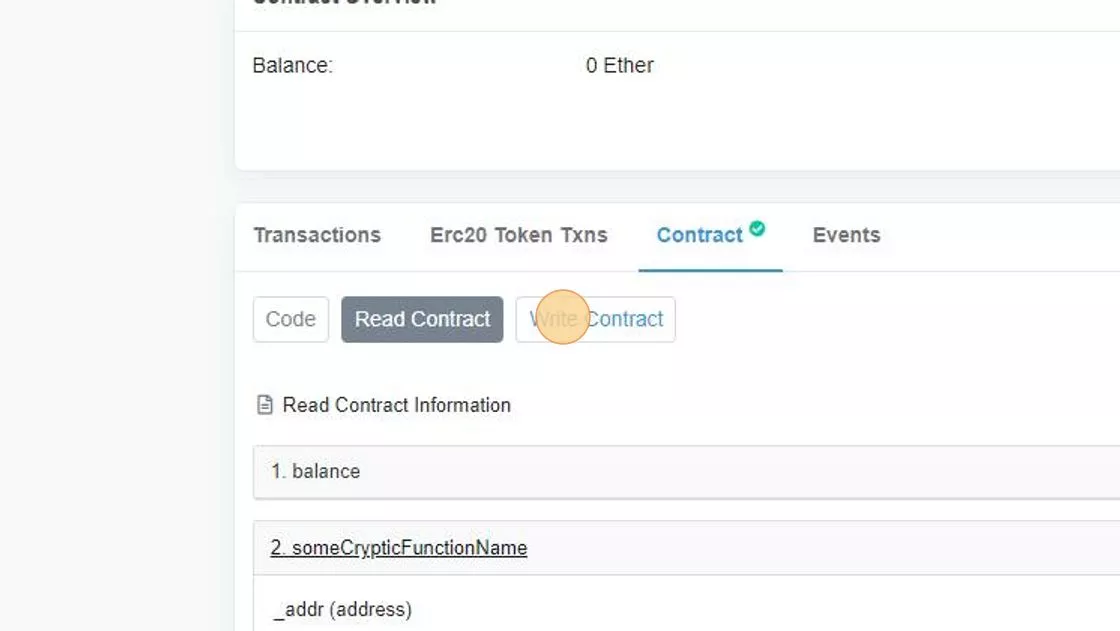
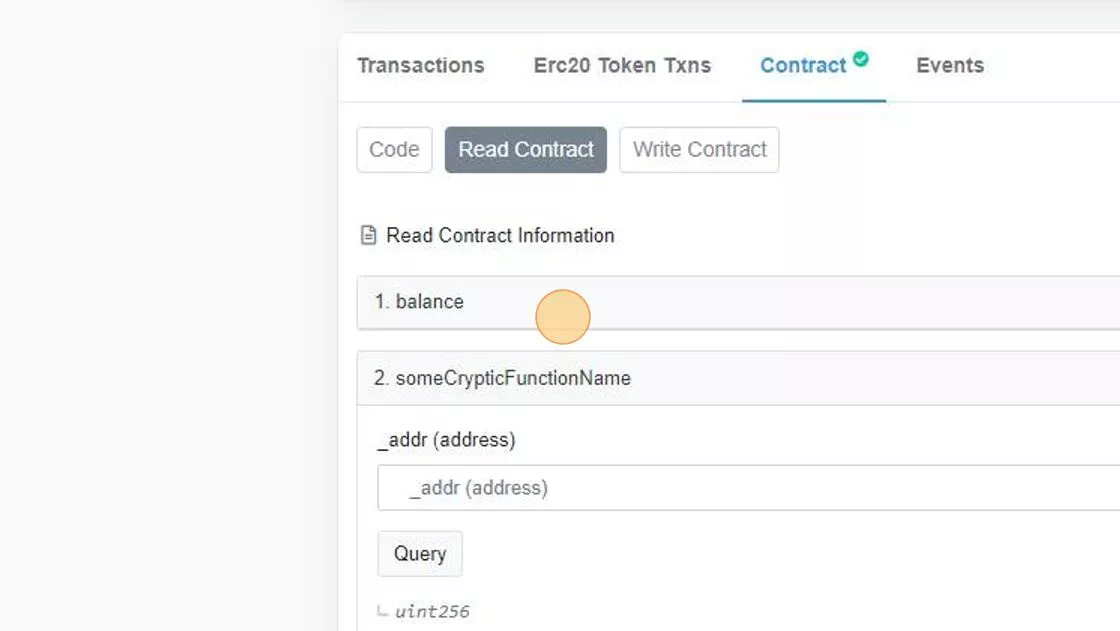
- Click "Read Contract"
- You see, now you have even the most crypto function names as cleartext here to interact with.
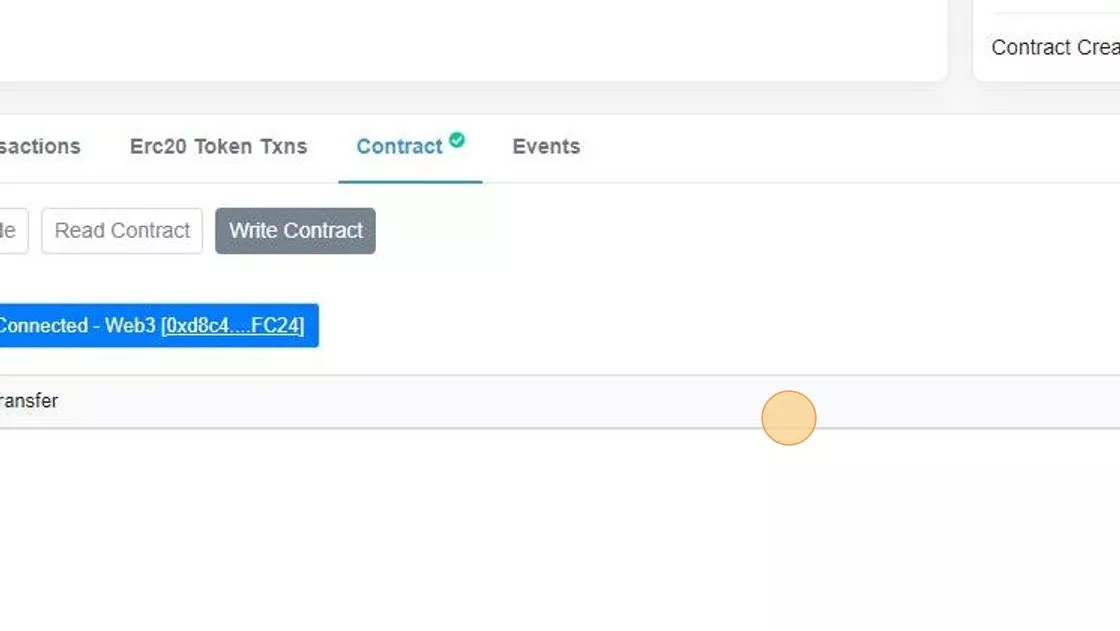
- Let's interact with our smart contract. Click "Write"
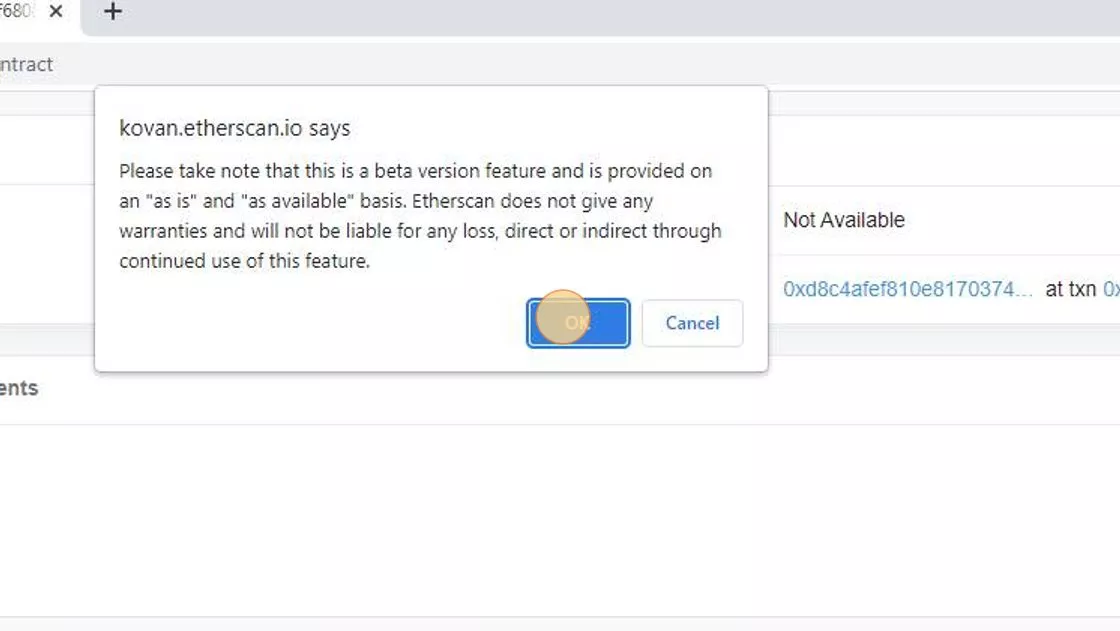
- Click "Connect to Web3"

- Confirm the dialog box
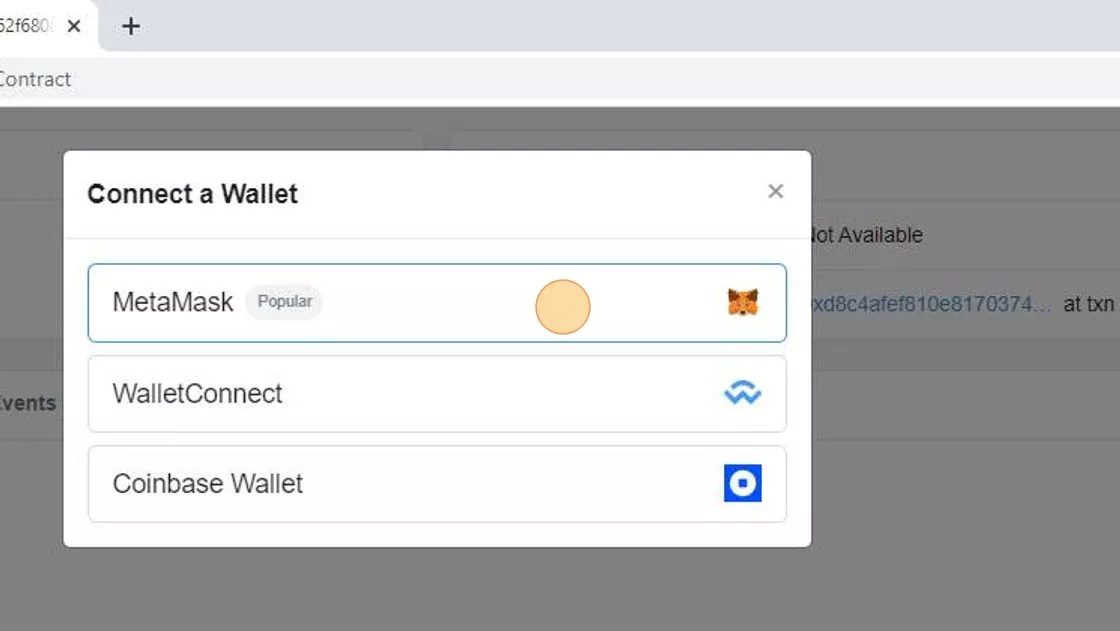
- Select "MetaMask" from the options
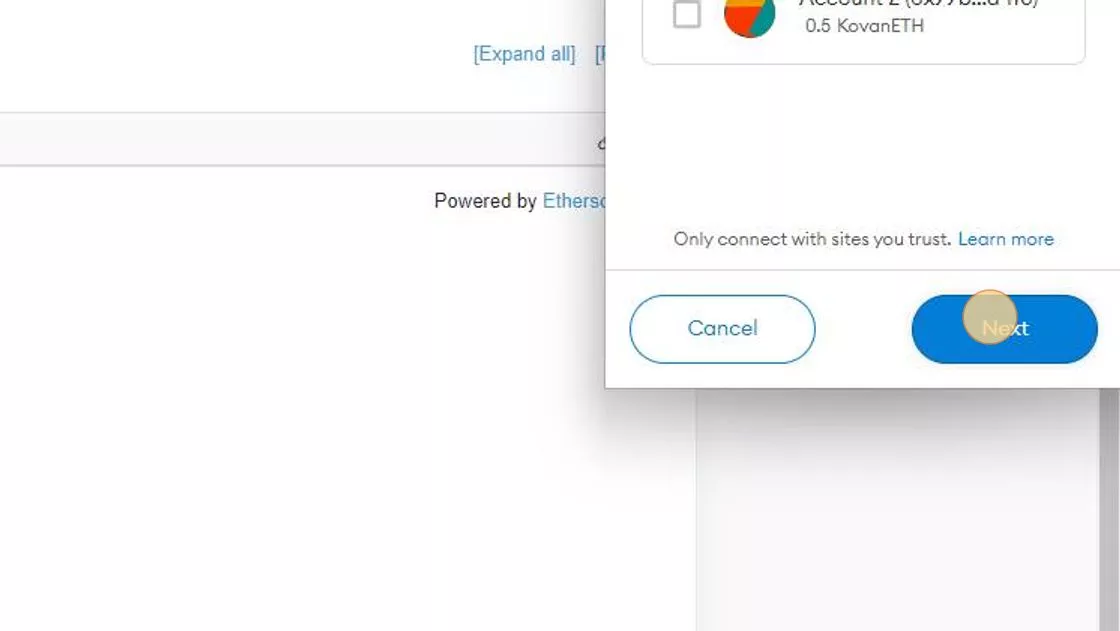
- Select "Account 1" to connect

- Click "Next"
- Click "Connect"

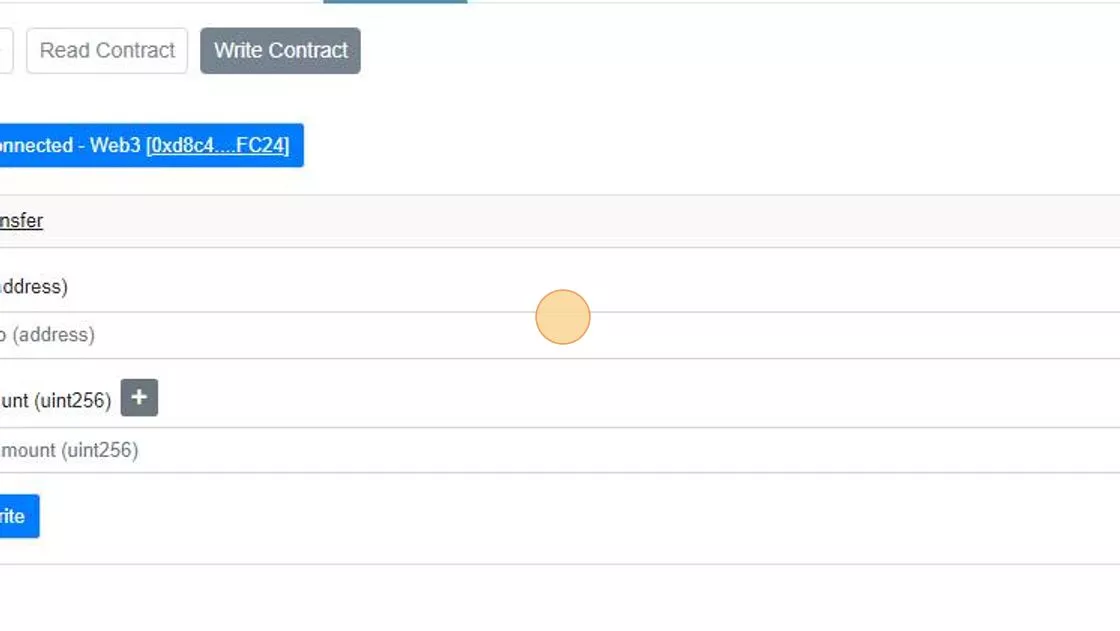
- Click "1. transfer"
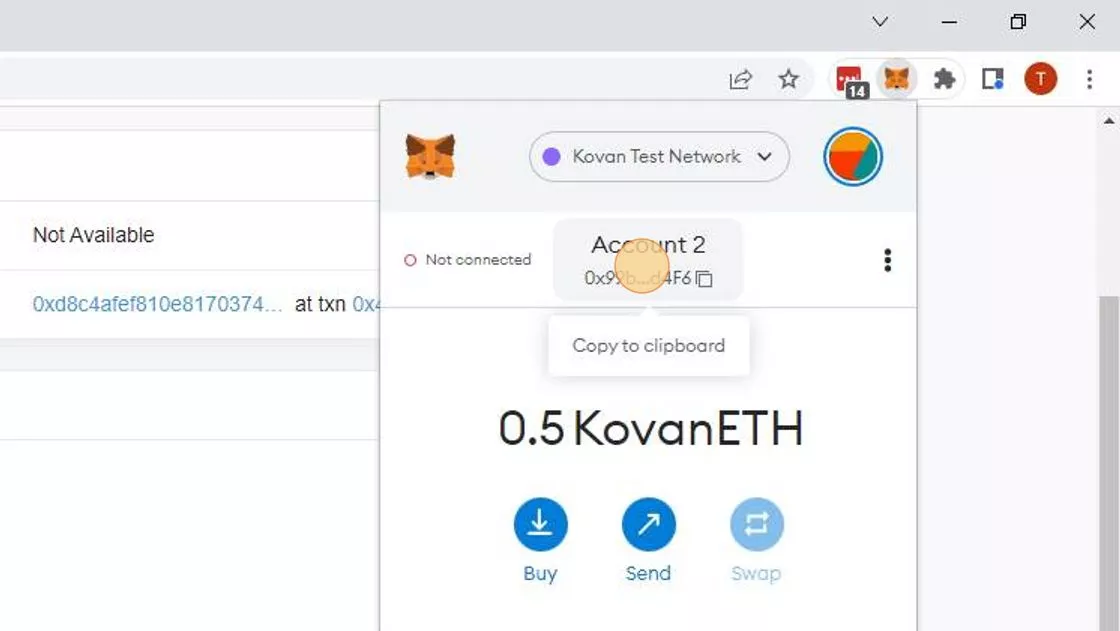
- Let's copy the second address from MetaMask...
- Click here:

- Click "0.4897"
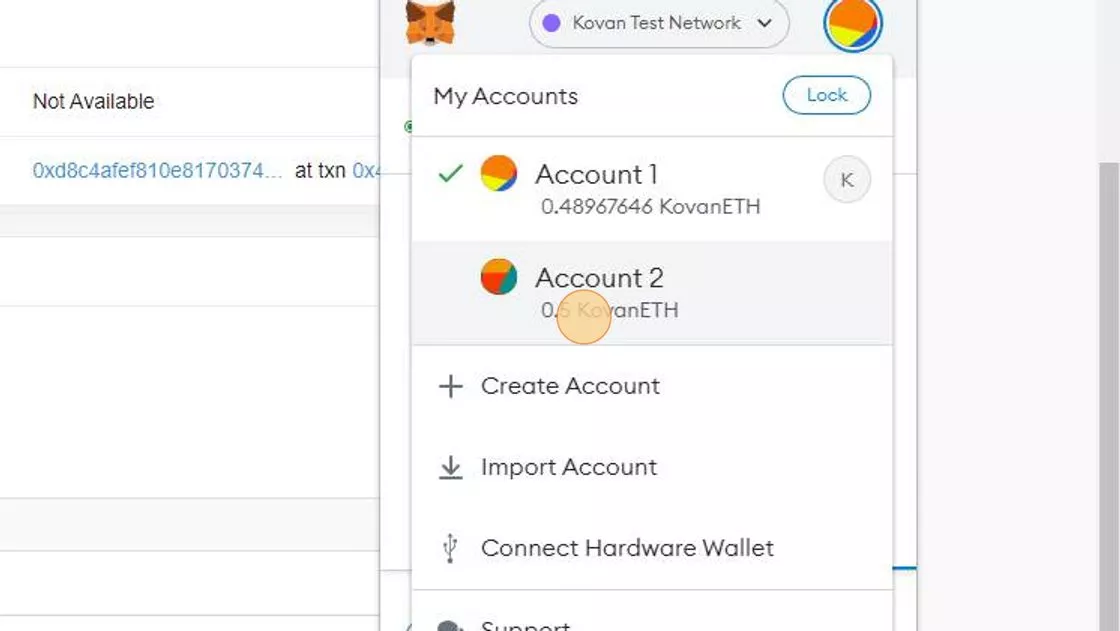
- Click "Account 2 0x99b...d4F6"
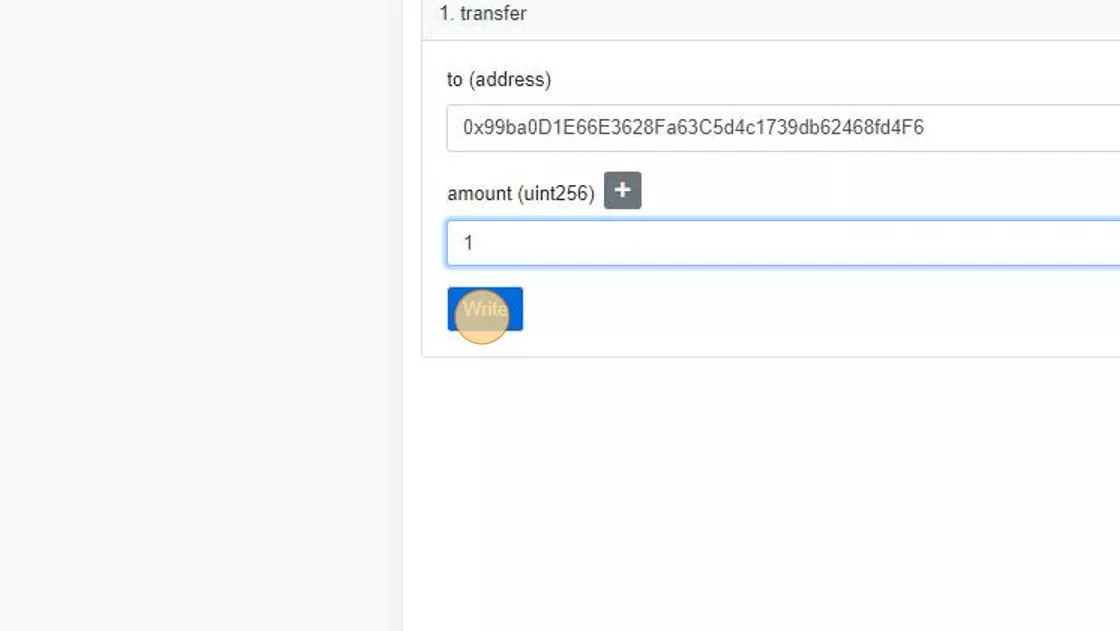
- Click " amount (uint256)"
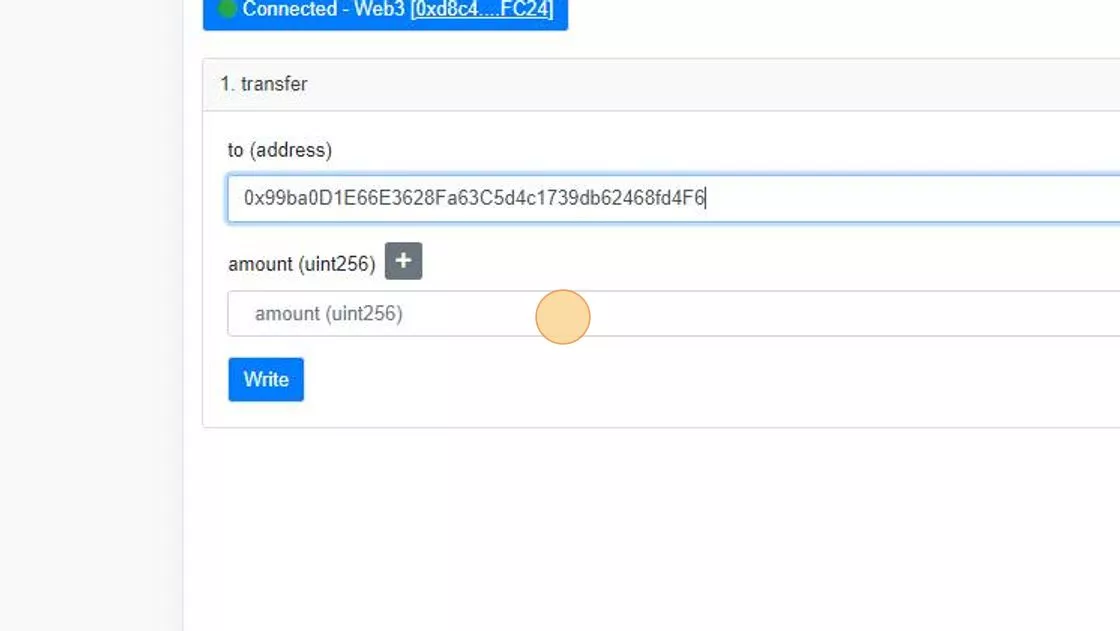
- Click "Write"
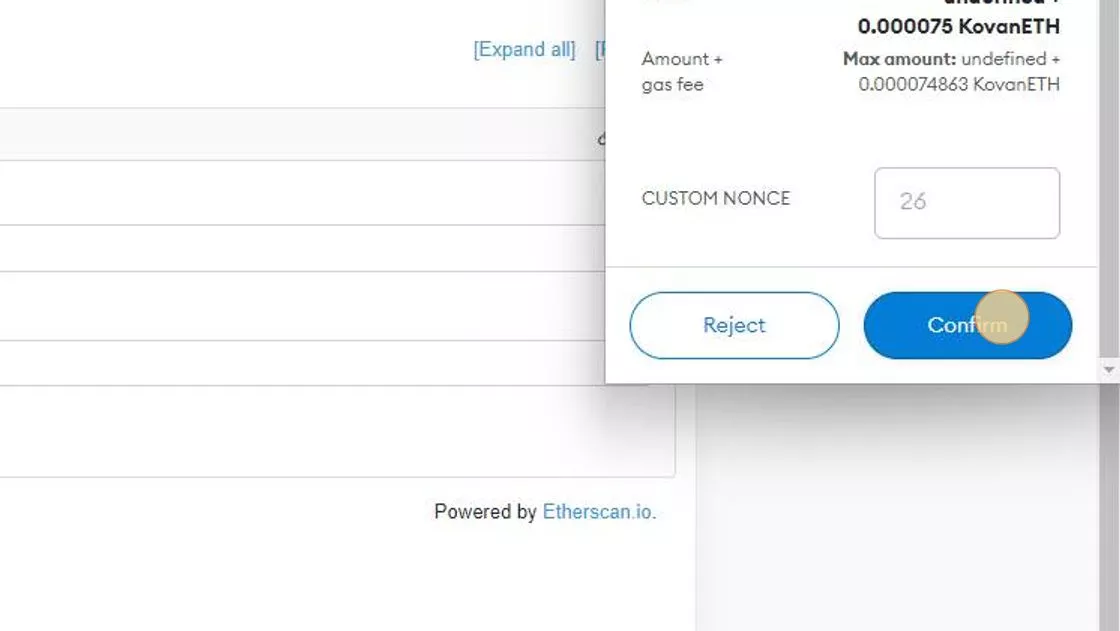
- Click "Confirm"
- Click "Read Contract"
- Now lets read out the balance. Click "1. balance" and paste in the same account that we used for transferring the funds to
- And simple click "Query"
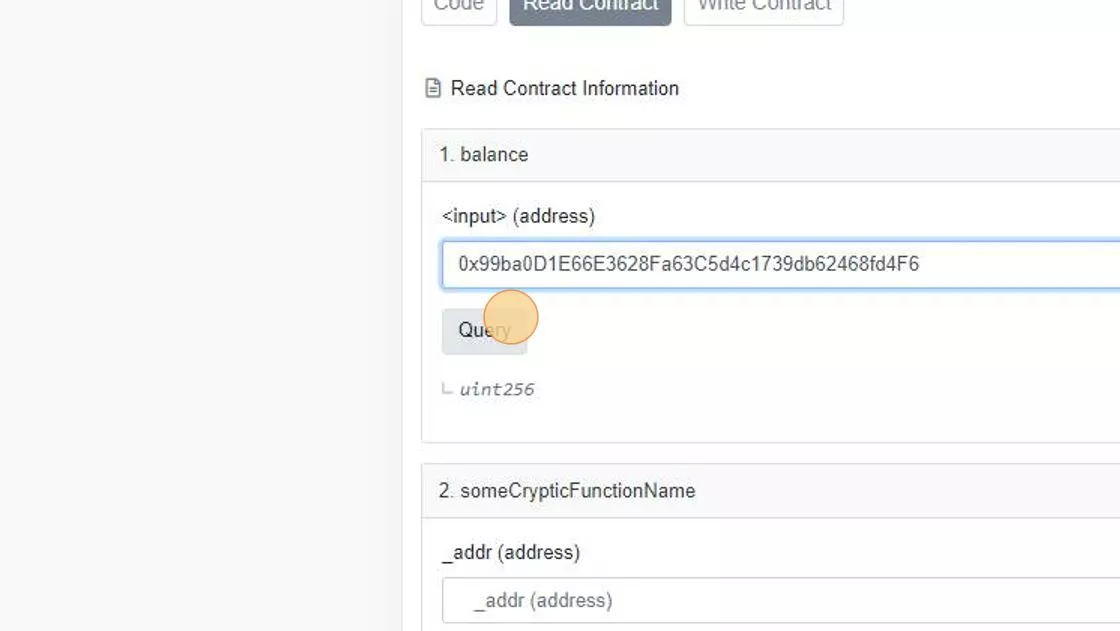
It should show you "1" as balance.