Understand the Limitations
In this step we basically execute the Smart Contract and see how it behaves, before we improve the Smart Contract with mapping and structs.
Deploy the Smart Contract
Head over to the "Deploy & Run Transactions" Plugin and Deploy the Smart Contract
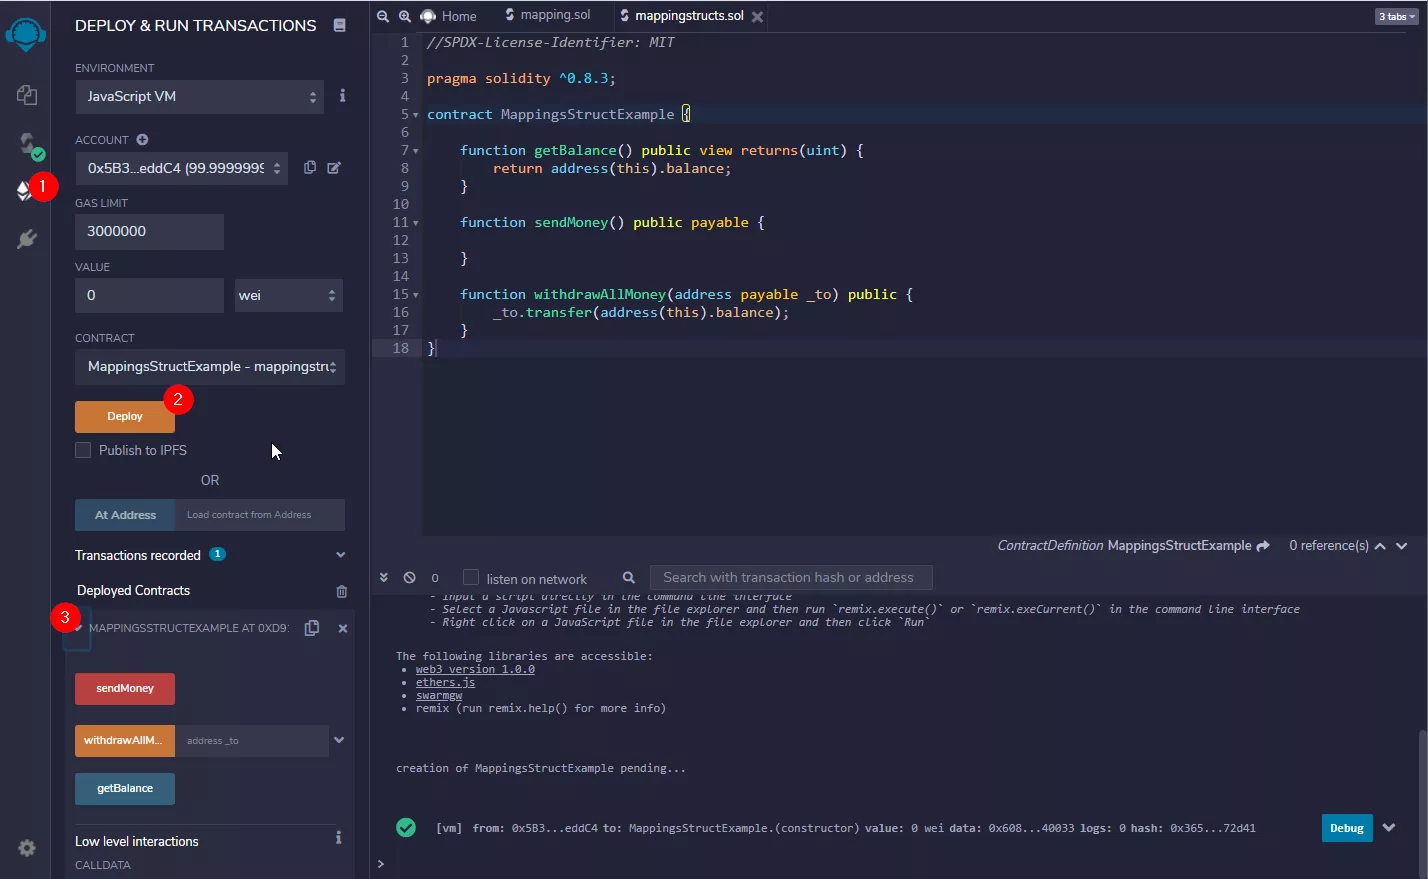
Now you should have your Smart Contract deployed and an instance under "Deployed Contracts"
Deposit some Funds
Let's send some Ether to the Smart Contract. The Contract will manage its own funds.
- Enter "1" in the value field
- Select "Ether" from the Dropdown
- Hit the "sendMoney" Button

Withdraw Money
Our Smart Contract is extremely simple at this stage. It allows everyone to send money to the Smart Contract. It also allows everyone to withdraw everything. That's not very good obviously, unless you operate some sort of charity. Let's give it a try. Let's withdraw all money to our second account using our second account:
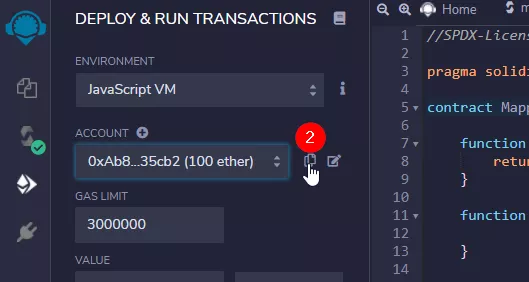
- Select Account#2 from the Accounts Dropdown
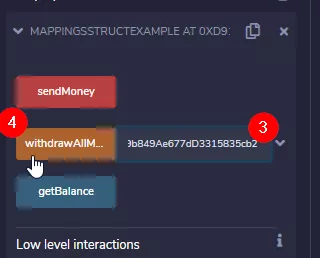
- Copy the Address
- Paste the Address next to "withdrawAllMoney"
- hit the "withdrawAllMoney" Button
- Observe the increased Ether Amount for that Account

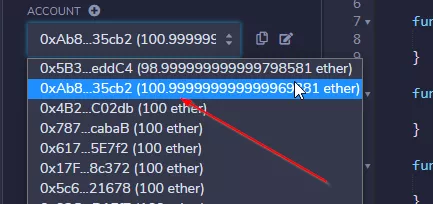
So, everyone can do everything with the Smart Contract. Let's make it a bit more secure!
Try yourself first
Want to give it a try yourself first before you proceed?
Extend the Smart Contract and use a Mapping to track who send how much to the Smart Contract.
Then only allow withdrawals for the amount deposited.
So, if address 0x123... deposits 1 Ether, then address 0x123... can withdraw 1 Ether again. Nobody else. And not more.
Use a mapping(address => uint) for this and track the funds with msg.value.