Injected Web3 Provider vs Remix JavaScript VM
So, now its time to dig a bit deeper into the Injected Web3 Provider that you see in the dropdown in Remix.

In this lab we're going to deploy a Smart Contract in a test network via MetaMask.
So, MetaMask will be our wallet. But more than that, its also offering a proxy to a blockchain node. And it does this, by injecting itself as a web3 Provider into a website.
Switch over to the "Deploy & Run Transactions" Plugin. We need to configure it, so it uses our MetaMask Wallet to access the Blockchain.
Sample Contract
//SPDX-License-Identifier: MIT

pragma solidity 0.8.15;

contract SampleContract {
    string public myString = "Hello World";

    function updateString(string memory _newString) public {
        myString = _newString;
    }
}
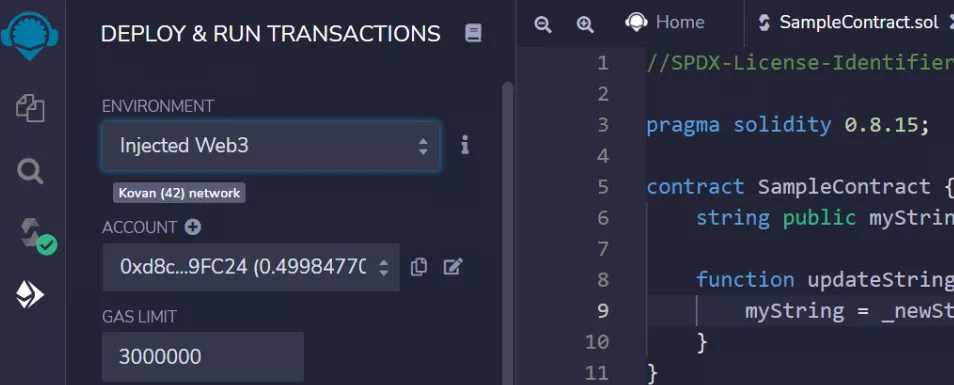
Add the contract to Remix. Then head over to the Deploy and Run Transactions Tab and select "Injected Web3" from the Dropdown of the Environment
Connect MetaMask and Deploy Smart Contracts
What should happen next is MetaMask popping up and asking for connect permission. You can select your first account and hit next and then connect:

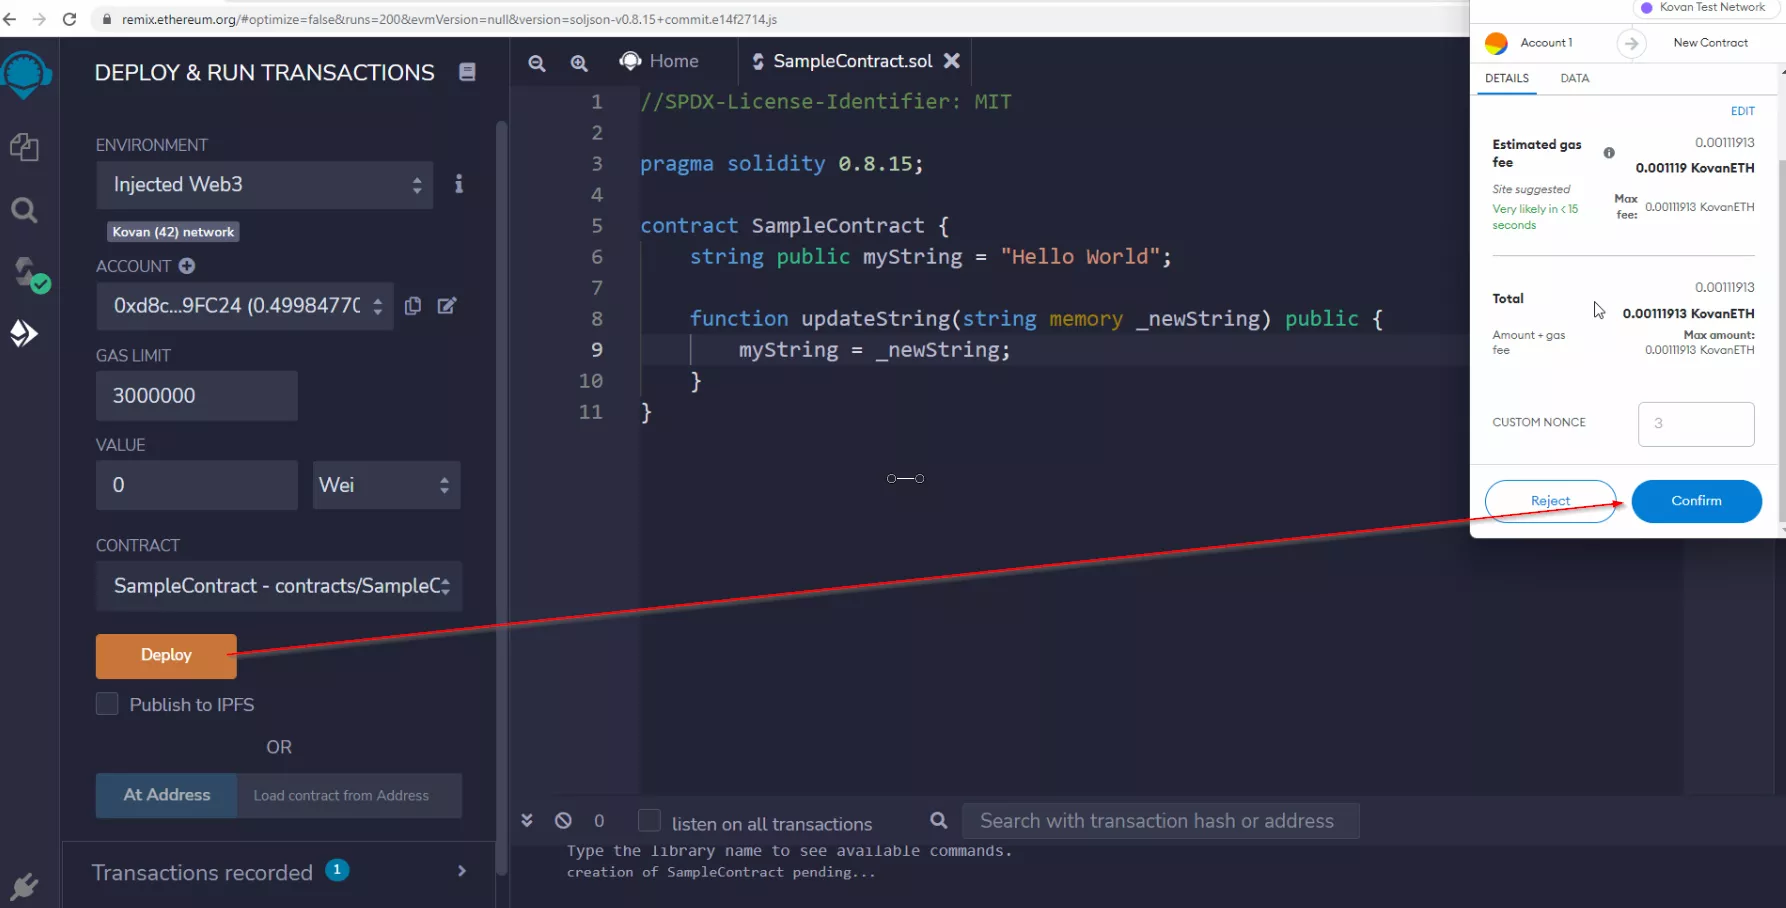
Once you hit "Deploy" in the Deploy & Run Transaction Tab, MetaMask will pop up and ask you to confirm the Transaction before sending it off to the network
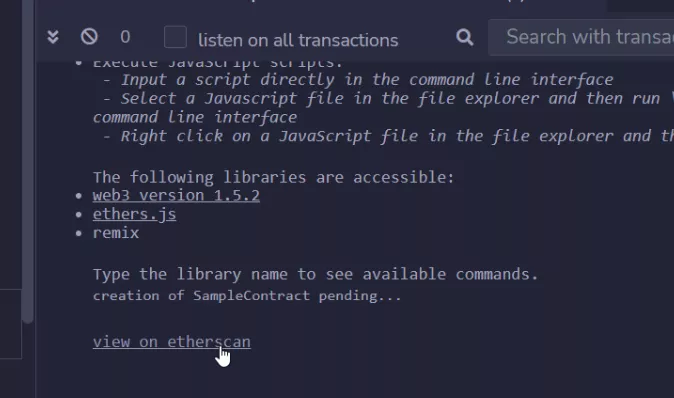
You can then follow your transaction on any block explorer, like etherscan, by clicking the link in the Remix Transaction window:
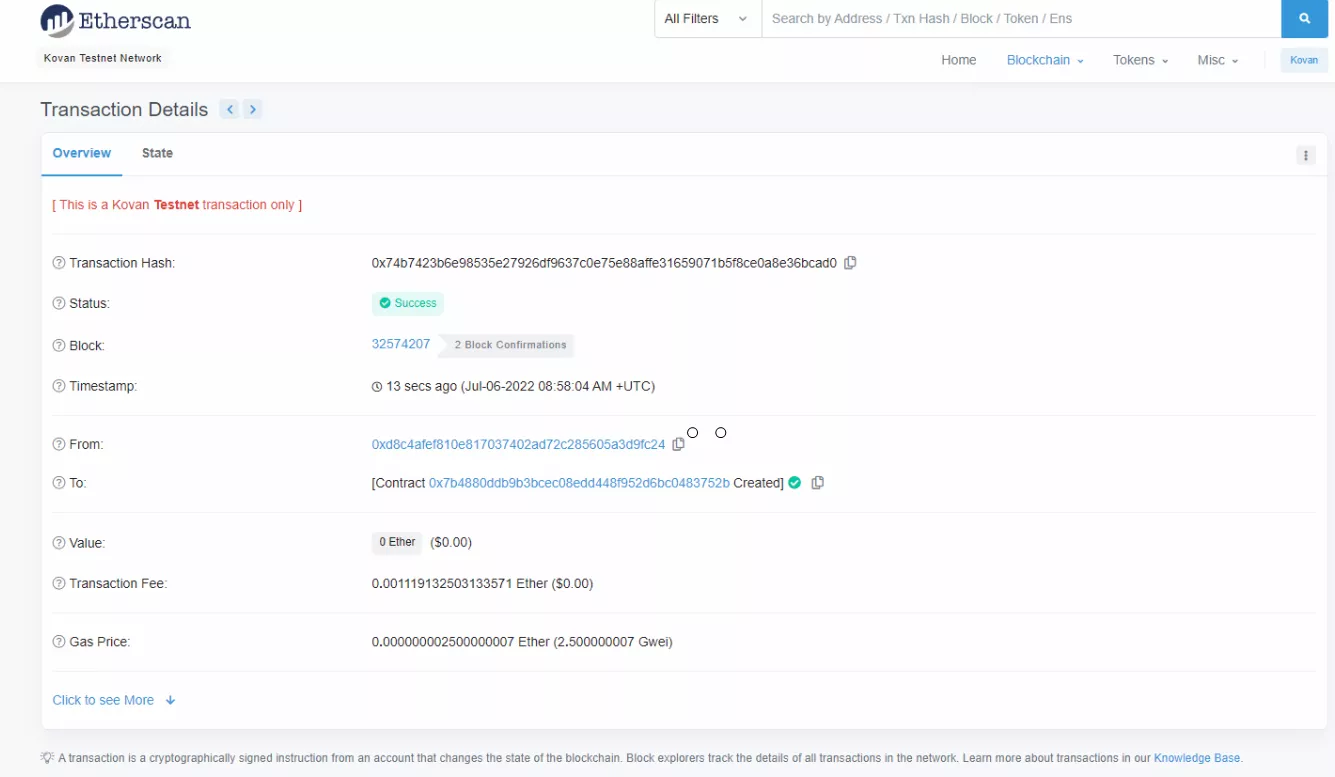
This is my transaction:
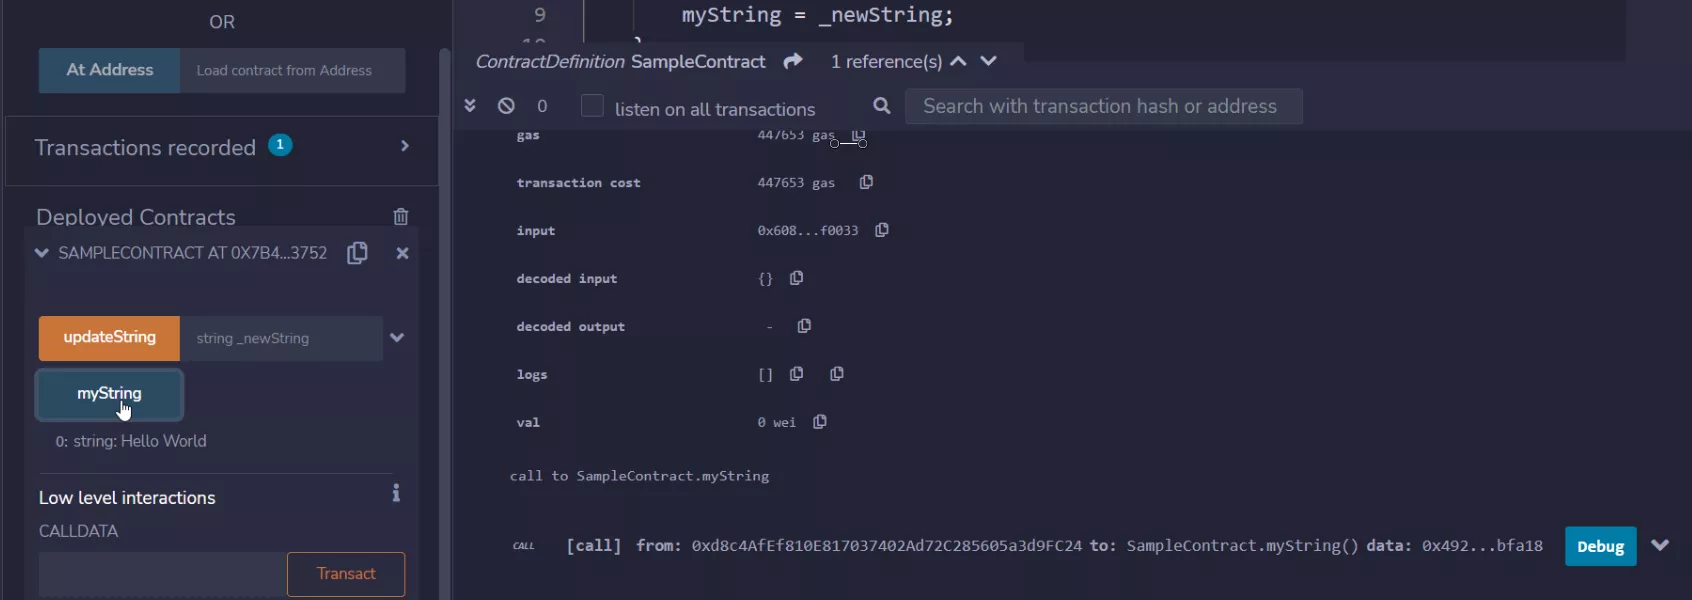
Interact with Smart Contracts using MetaMask
Once the Transaction is mined successfully, you can interact with the Smart Contract through Remix, as we've done it with the JavaScript VM for reading operations:
For writing operations, such as interacting with the updateString function, you need to send another transaction and there MetaMask will pop up again:

In the next video I'll show you the important "payable" modifier!