Injected Web3
Tried yourself?
Did you try yourself before you opened this page? Did it work? Then directly try to see the difference when you deploy to the JavaScript VM and skip to the next page.
Alright, now we're going to deploy to Görli via MetaMask! This should look all too familiar from the previous Lab.
Connect MetaMask to Remix
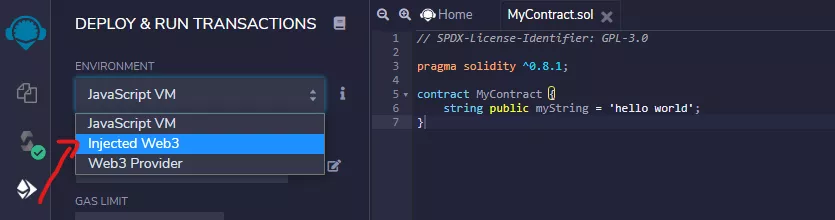
Switch over to the "Deploy & Run Transactions" Plugin. We need to configure it, so it uses our MetaMask Wallet to access the Blockchain.
As soon as you do this, MetaMask should pop up and ask you to connect your account to Remix.
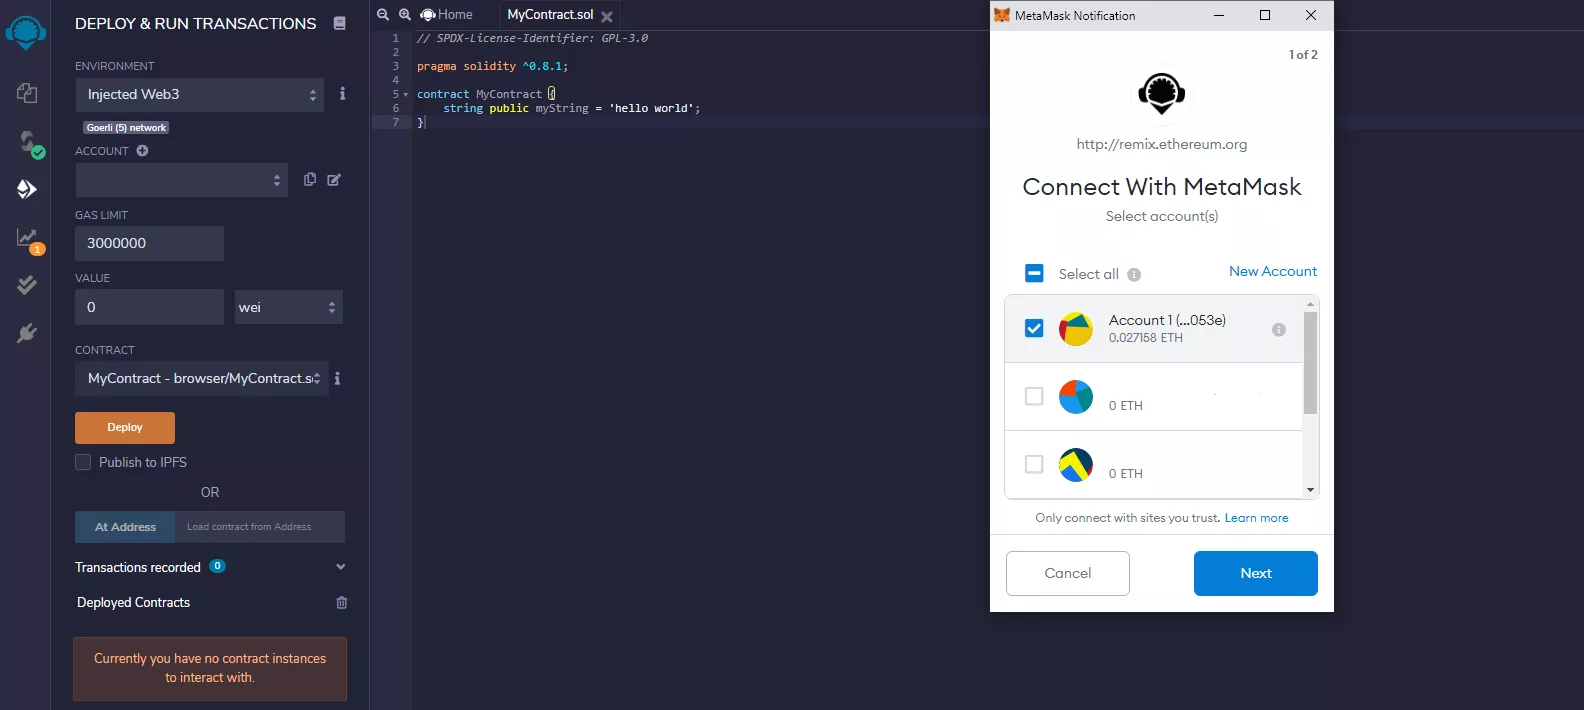
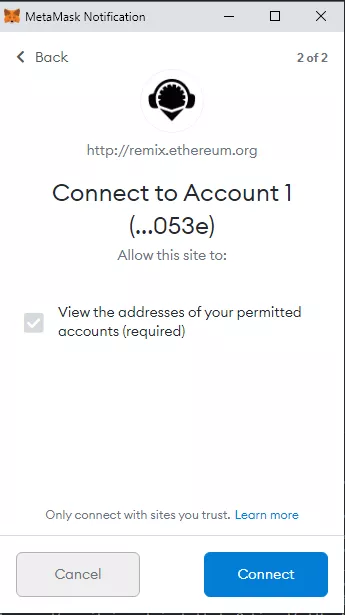
Click "Next" and the "Connect":
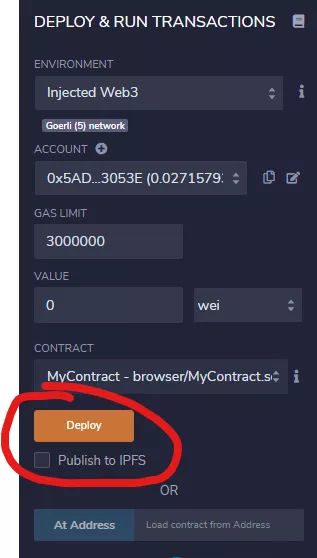
Now your account should pop-up in the dropdown under the Environment Selection:

Account not showing up?
If your account doesn't show up, or MetaMask doesn't pop up, try to reload the page. There are sometimes caching issues.
Deploy the Smart Contract
Let's deploy the Smart Contract now. First, make sure the correct Smart Contract is selected in the Dropdown:

Then simply hit "Deploy":
This should trigger MetaMask to ask you if you really want to send this transaction. Make sure the Görli Test-Network is selected and then simply hit "Confirm". If you selected the wrong network, then cancel the transaction, switch the network in MetaMask and hit "Deploy" again.

Perfect, now the transaction is on the way of getting mined.
Time until Smart Contract is ready
See how long that takes? Mining on real Blockchains, even test-networks, can take a while. It's not very convenient for Development.
This is why there are alternatives out there, especially for Development!
Let's checkout the most basic one, the JavaScript VM next!